Thrifted & Re-lifted Makeover Challenge, A DIY Tiled Table
 Well, it’s time to share our Thrifted & Re-lifted makeovers for under $30. My friends and I have gotten together to share some DIY’s that anyone can do. If you have a blog and would like to link up a project you’ve done, use the link at the end of this post! If you don’t have a blog, use the #ThriftedandRelifted tag on Instagram. We will be featuring a favorite each month. You have until the last Monday of each month to share, so don’t worry there is plenty of time.Here’s what I’ve been working on. I found a sweet little mid-century modern style table at my favorite thrift store. It wasn’t my style but I saw potential. Check out how I tiled it without getting my hands dirty. I’m hooked!!!
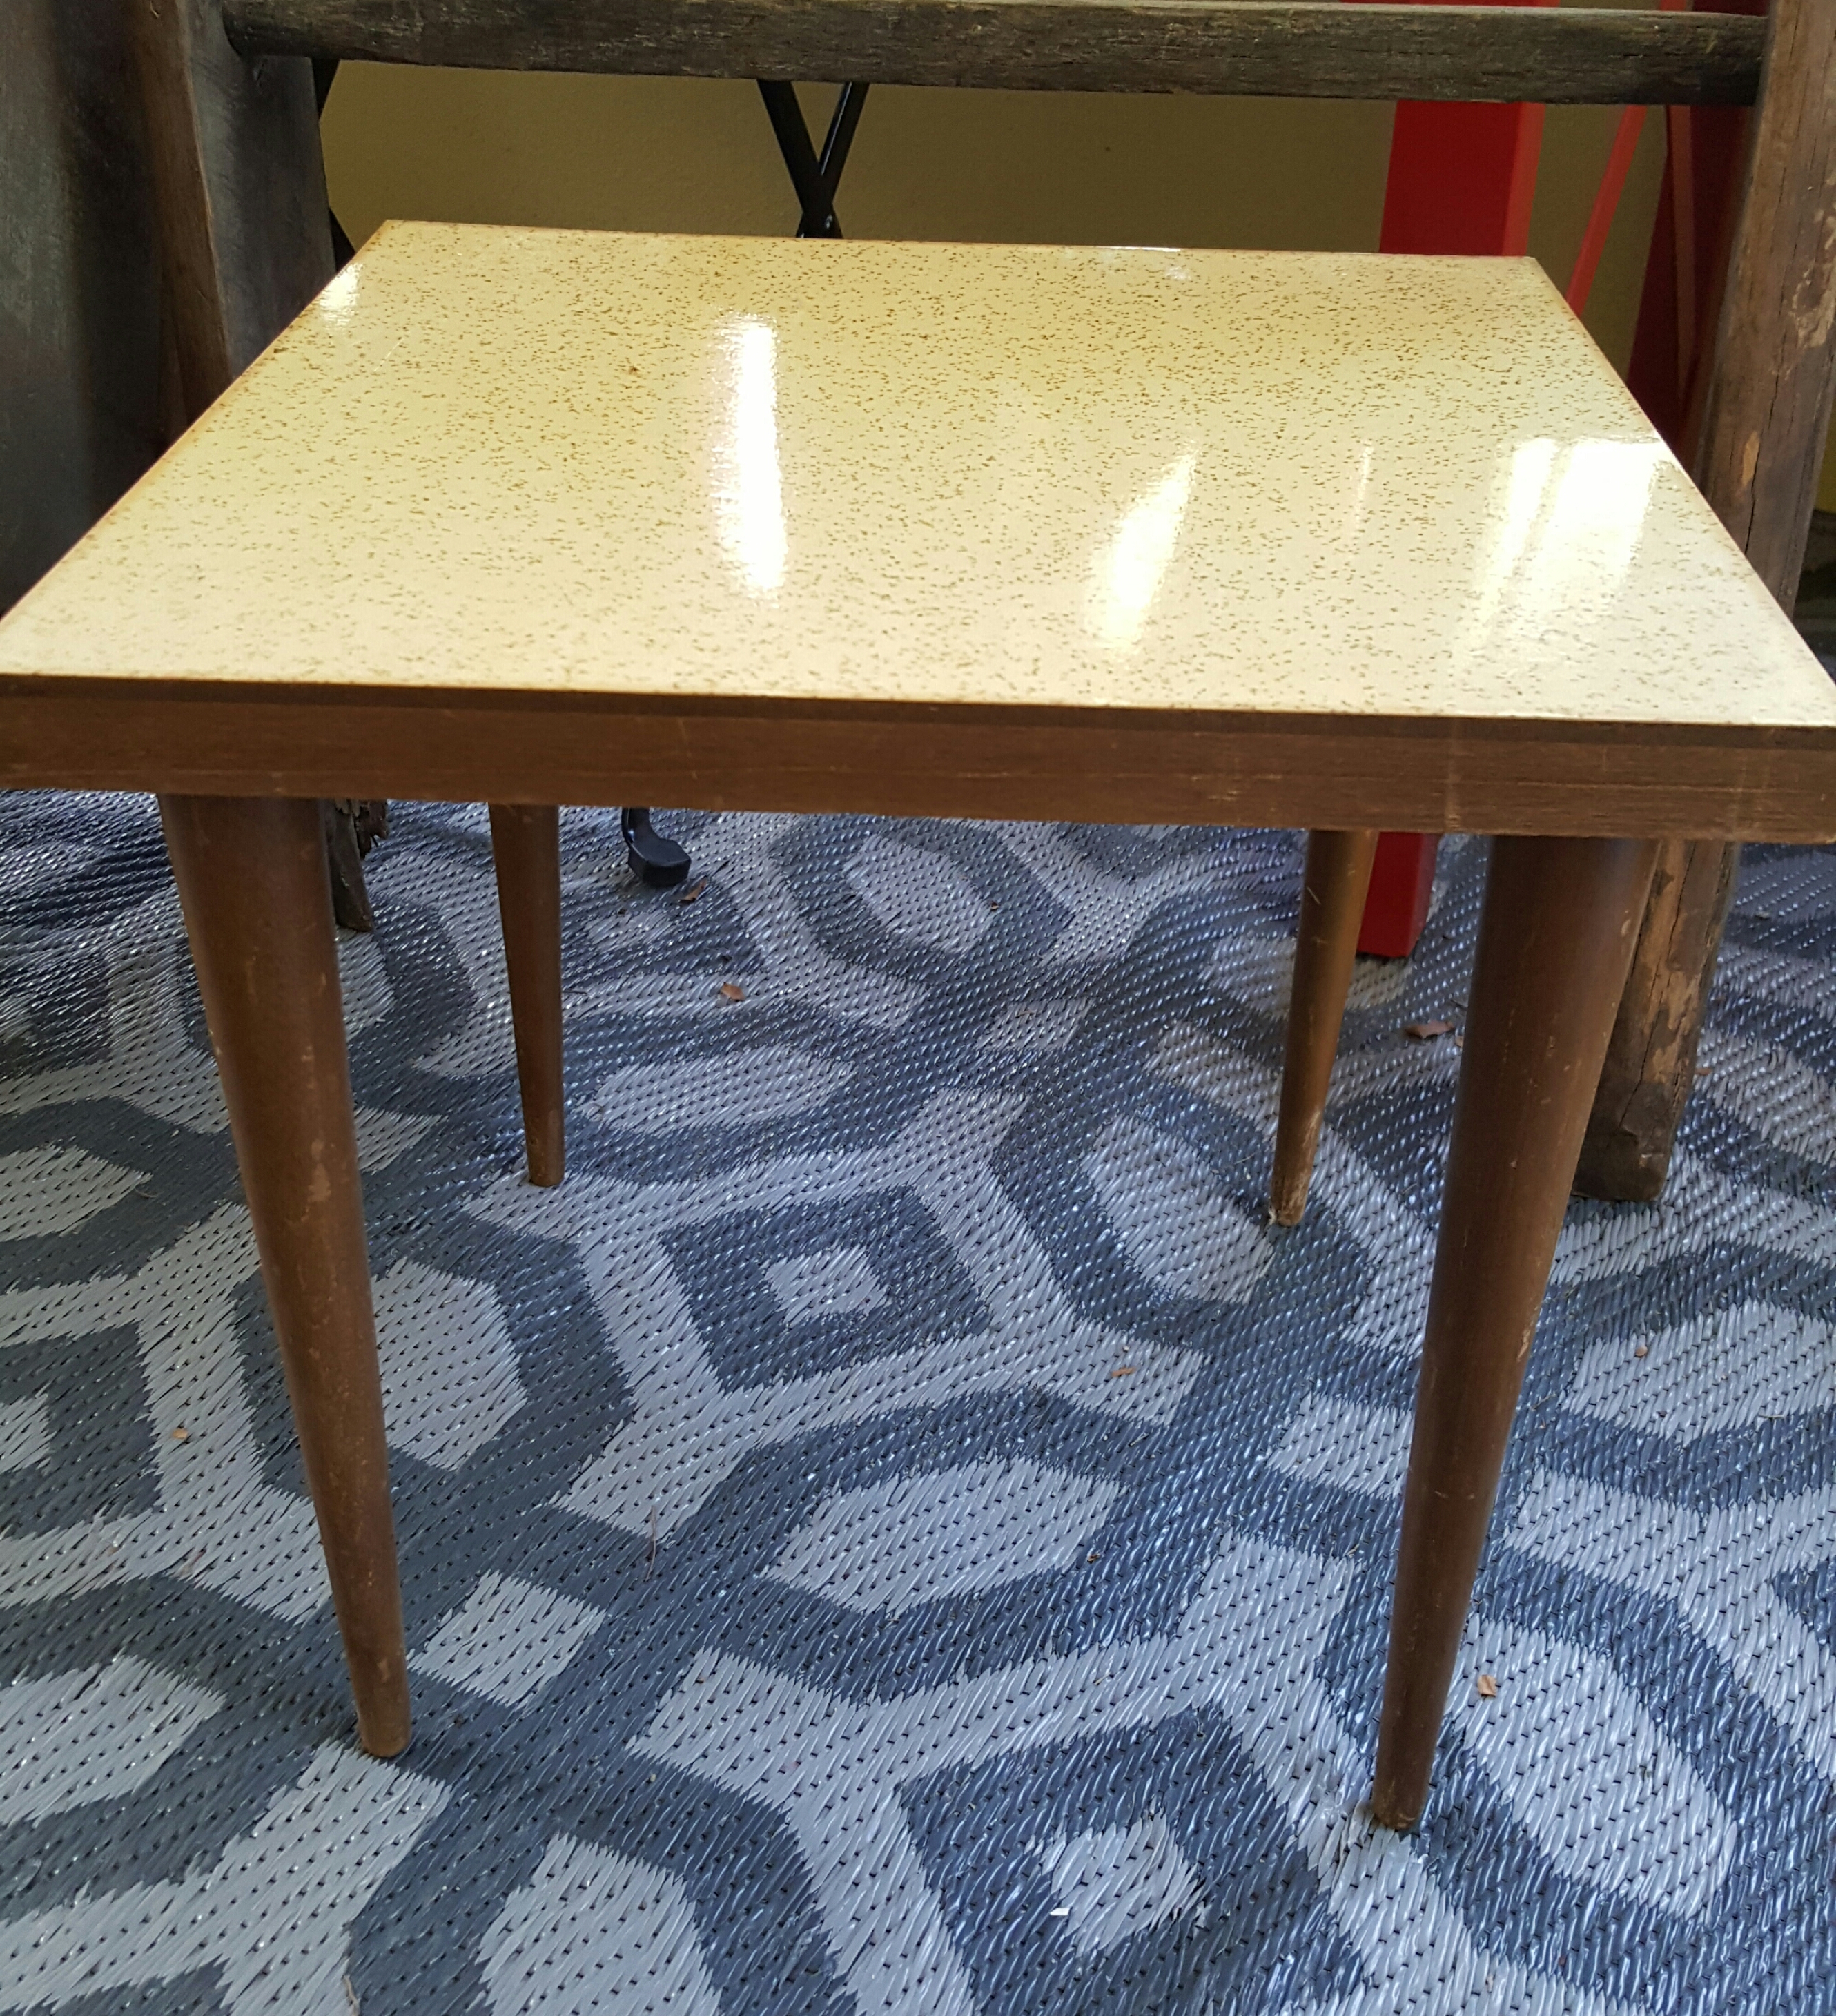
So here is the little table that could. 🙂 I’m sure back in the day it was the popular kid, but now it’s sort of the wallflower in the corner. I love finding pieces of history, pieces that represent a time gone by and redoing it. I took it home and it sat there for a couple of months because I wasn’t sure what look I wanted to give it.
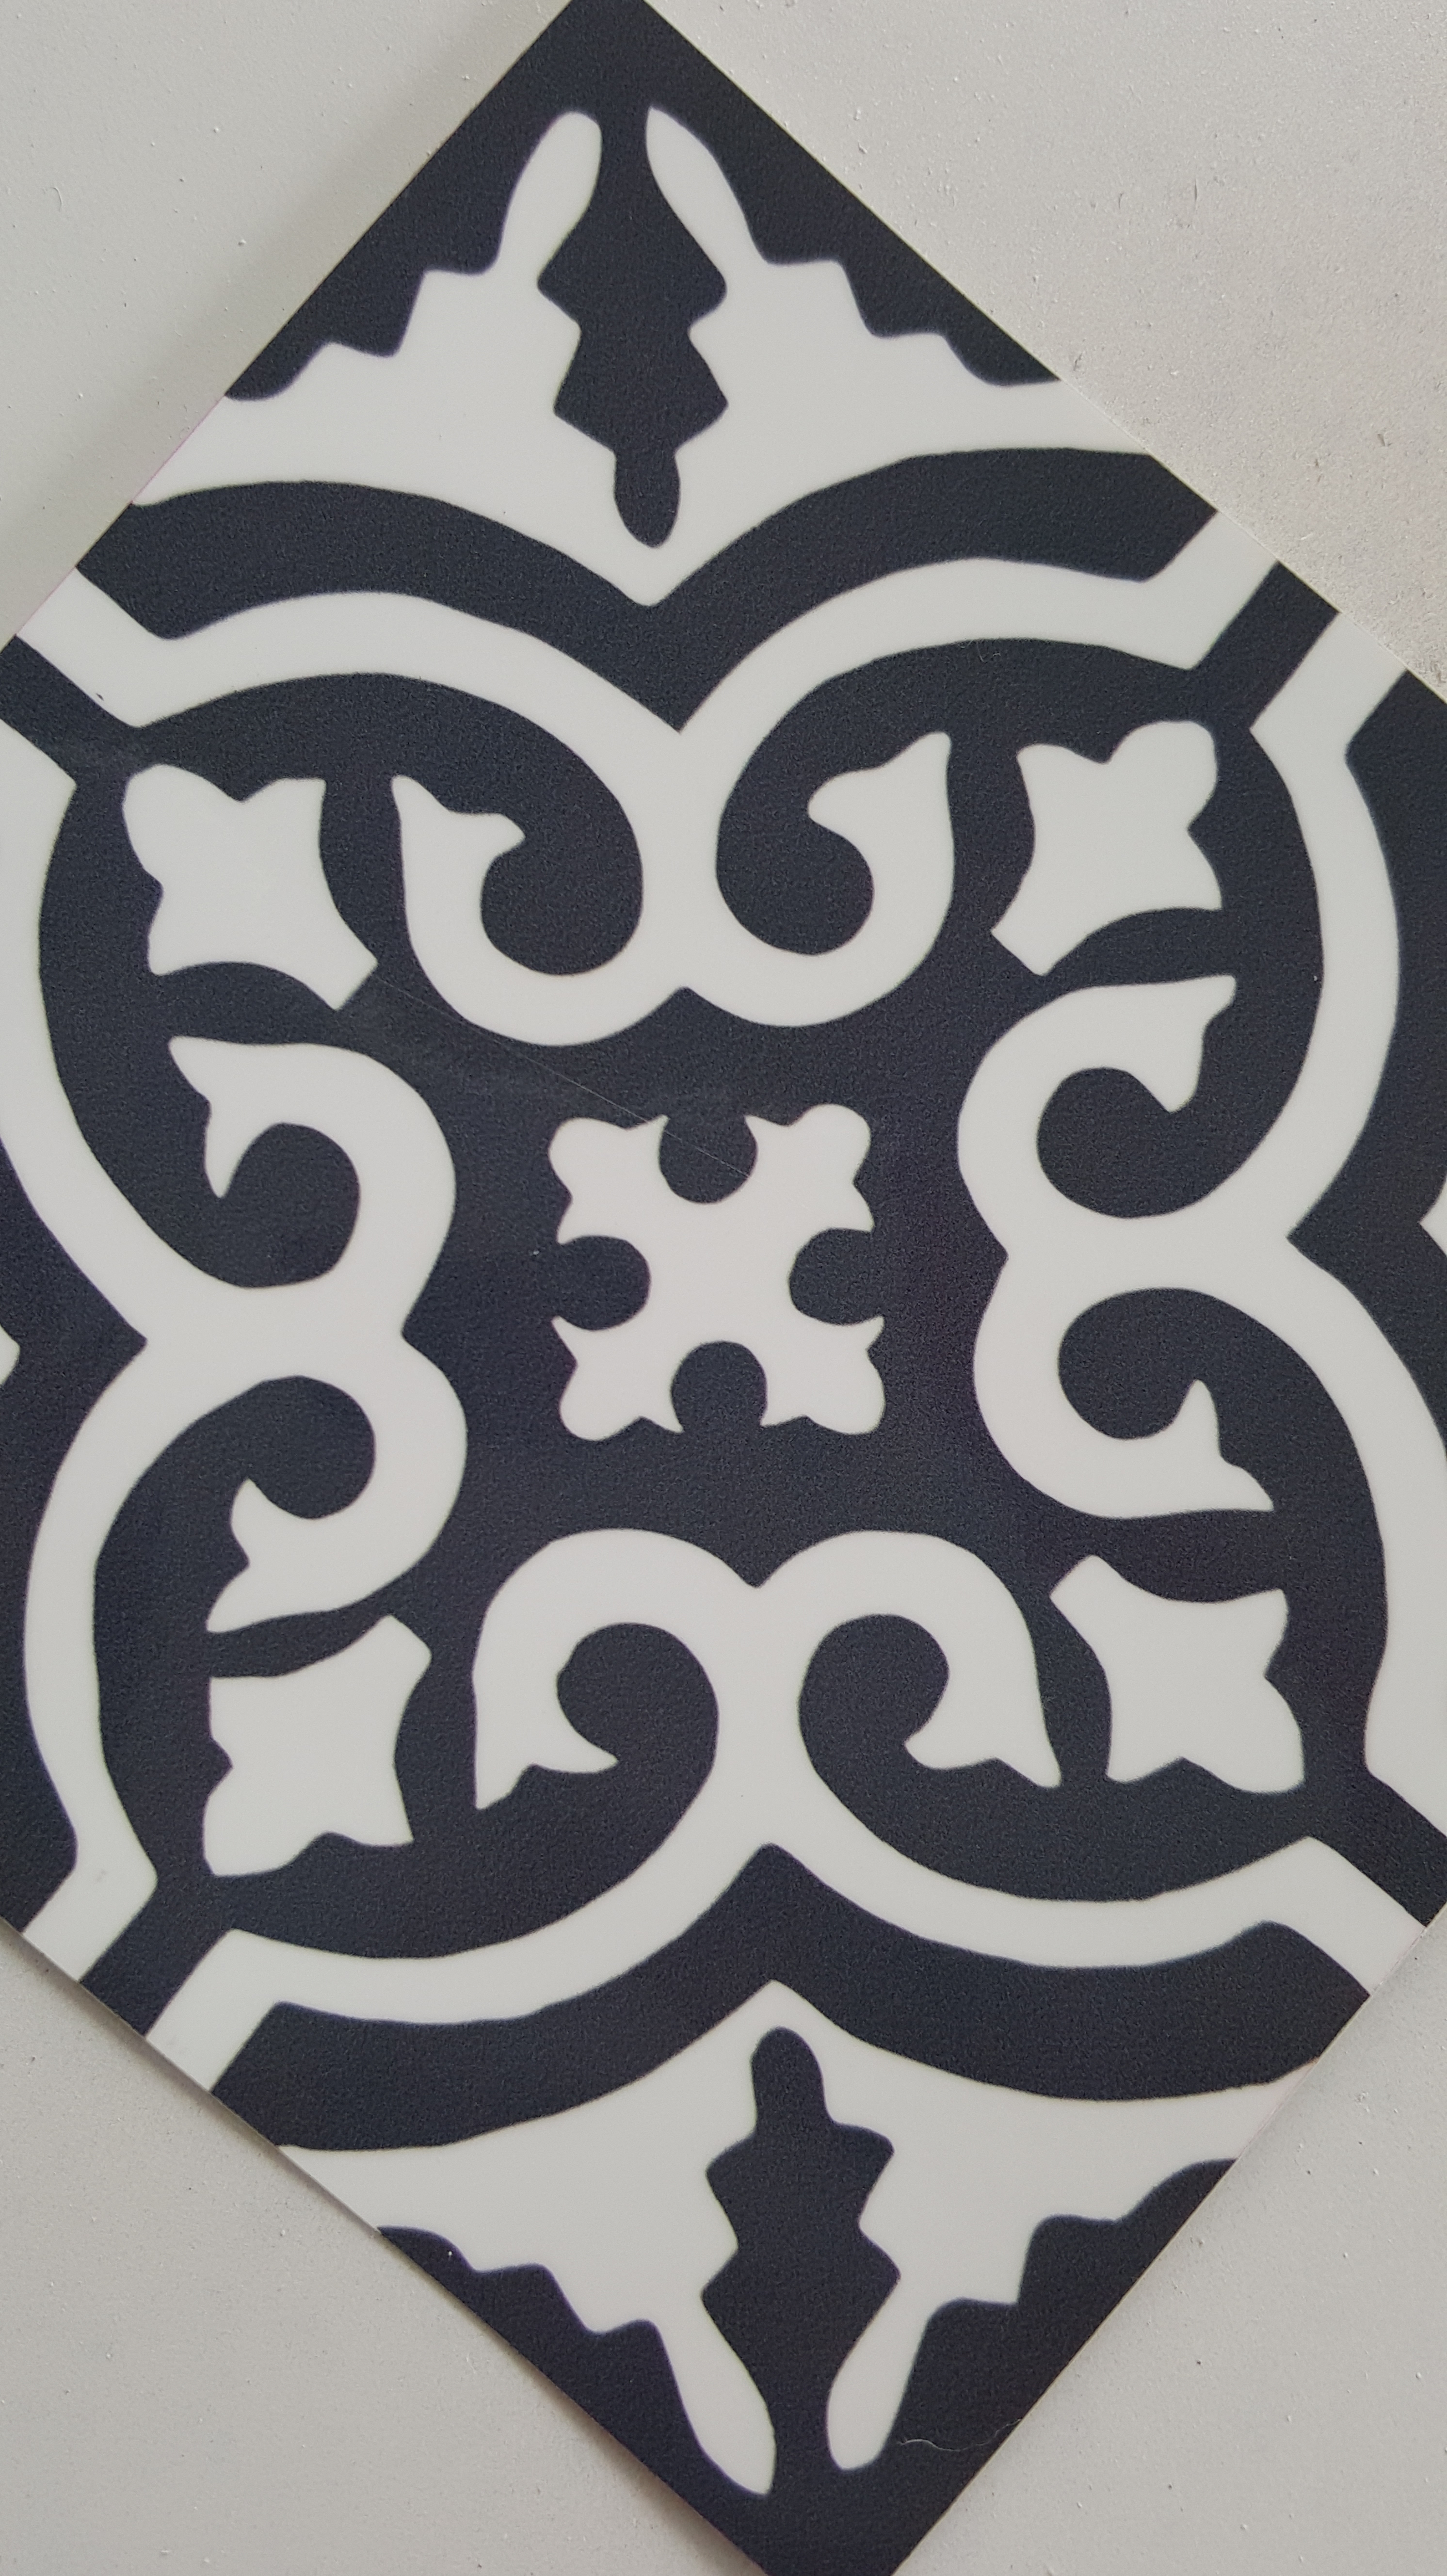
In the meantime, I found these tiles online. They come in a variety of patterns. I loved this one and was trying to figure out a way to incorporate them into my home. So many ideas and options running through my head.
When the ladies of the Thrifted & Re-lifted Challenge approached me about doing a fun and easy DIY, I thought it’s time to get the table done. 🙂 Our loft has a Moroccan style decor with lots of whites, metallics, and blues so I knew the direction I wanted to go.
For this project, I used the following:
- Wood Glue and Clamp
- Rust-Oleum 2X Coverage White Semi Gloss Spray Paint
- Nail Head Trim
- Tiles
- Measuring Tape and Pencil
- Glue Gun
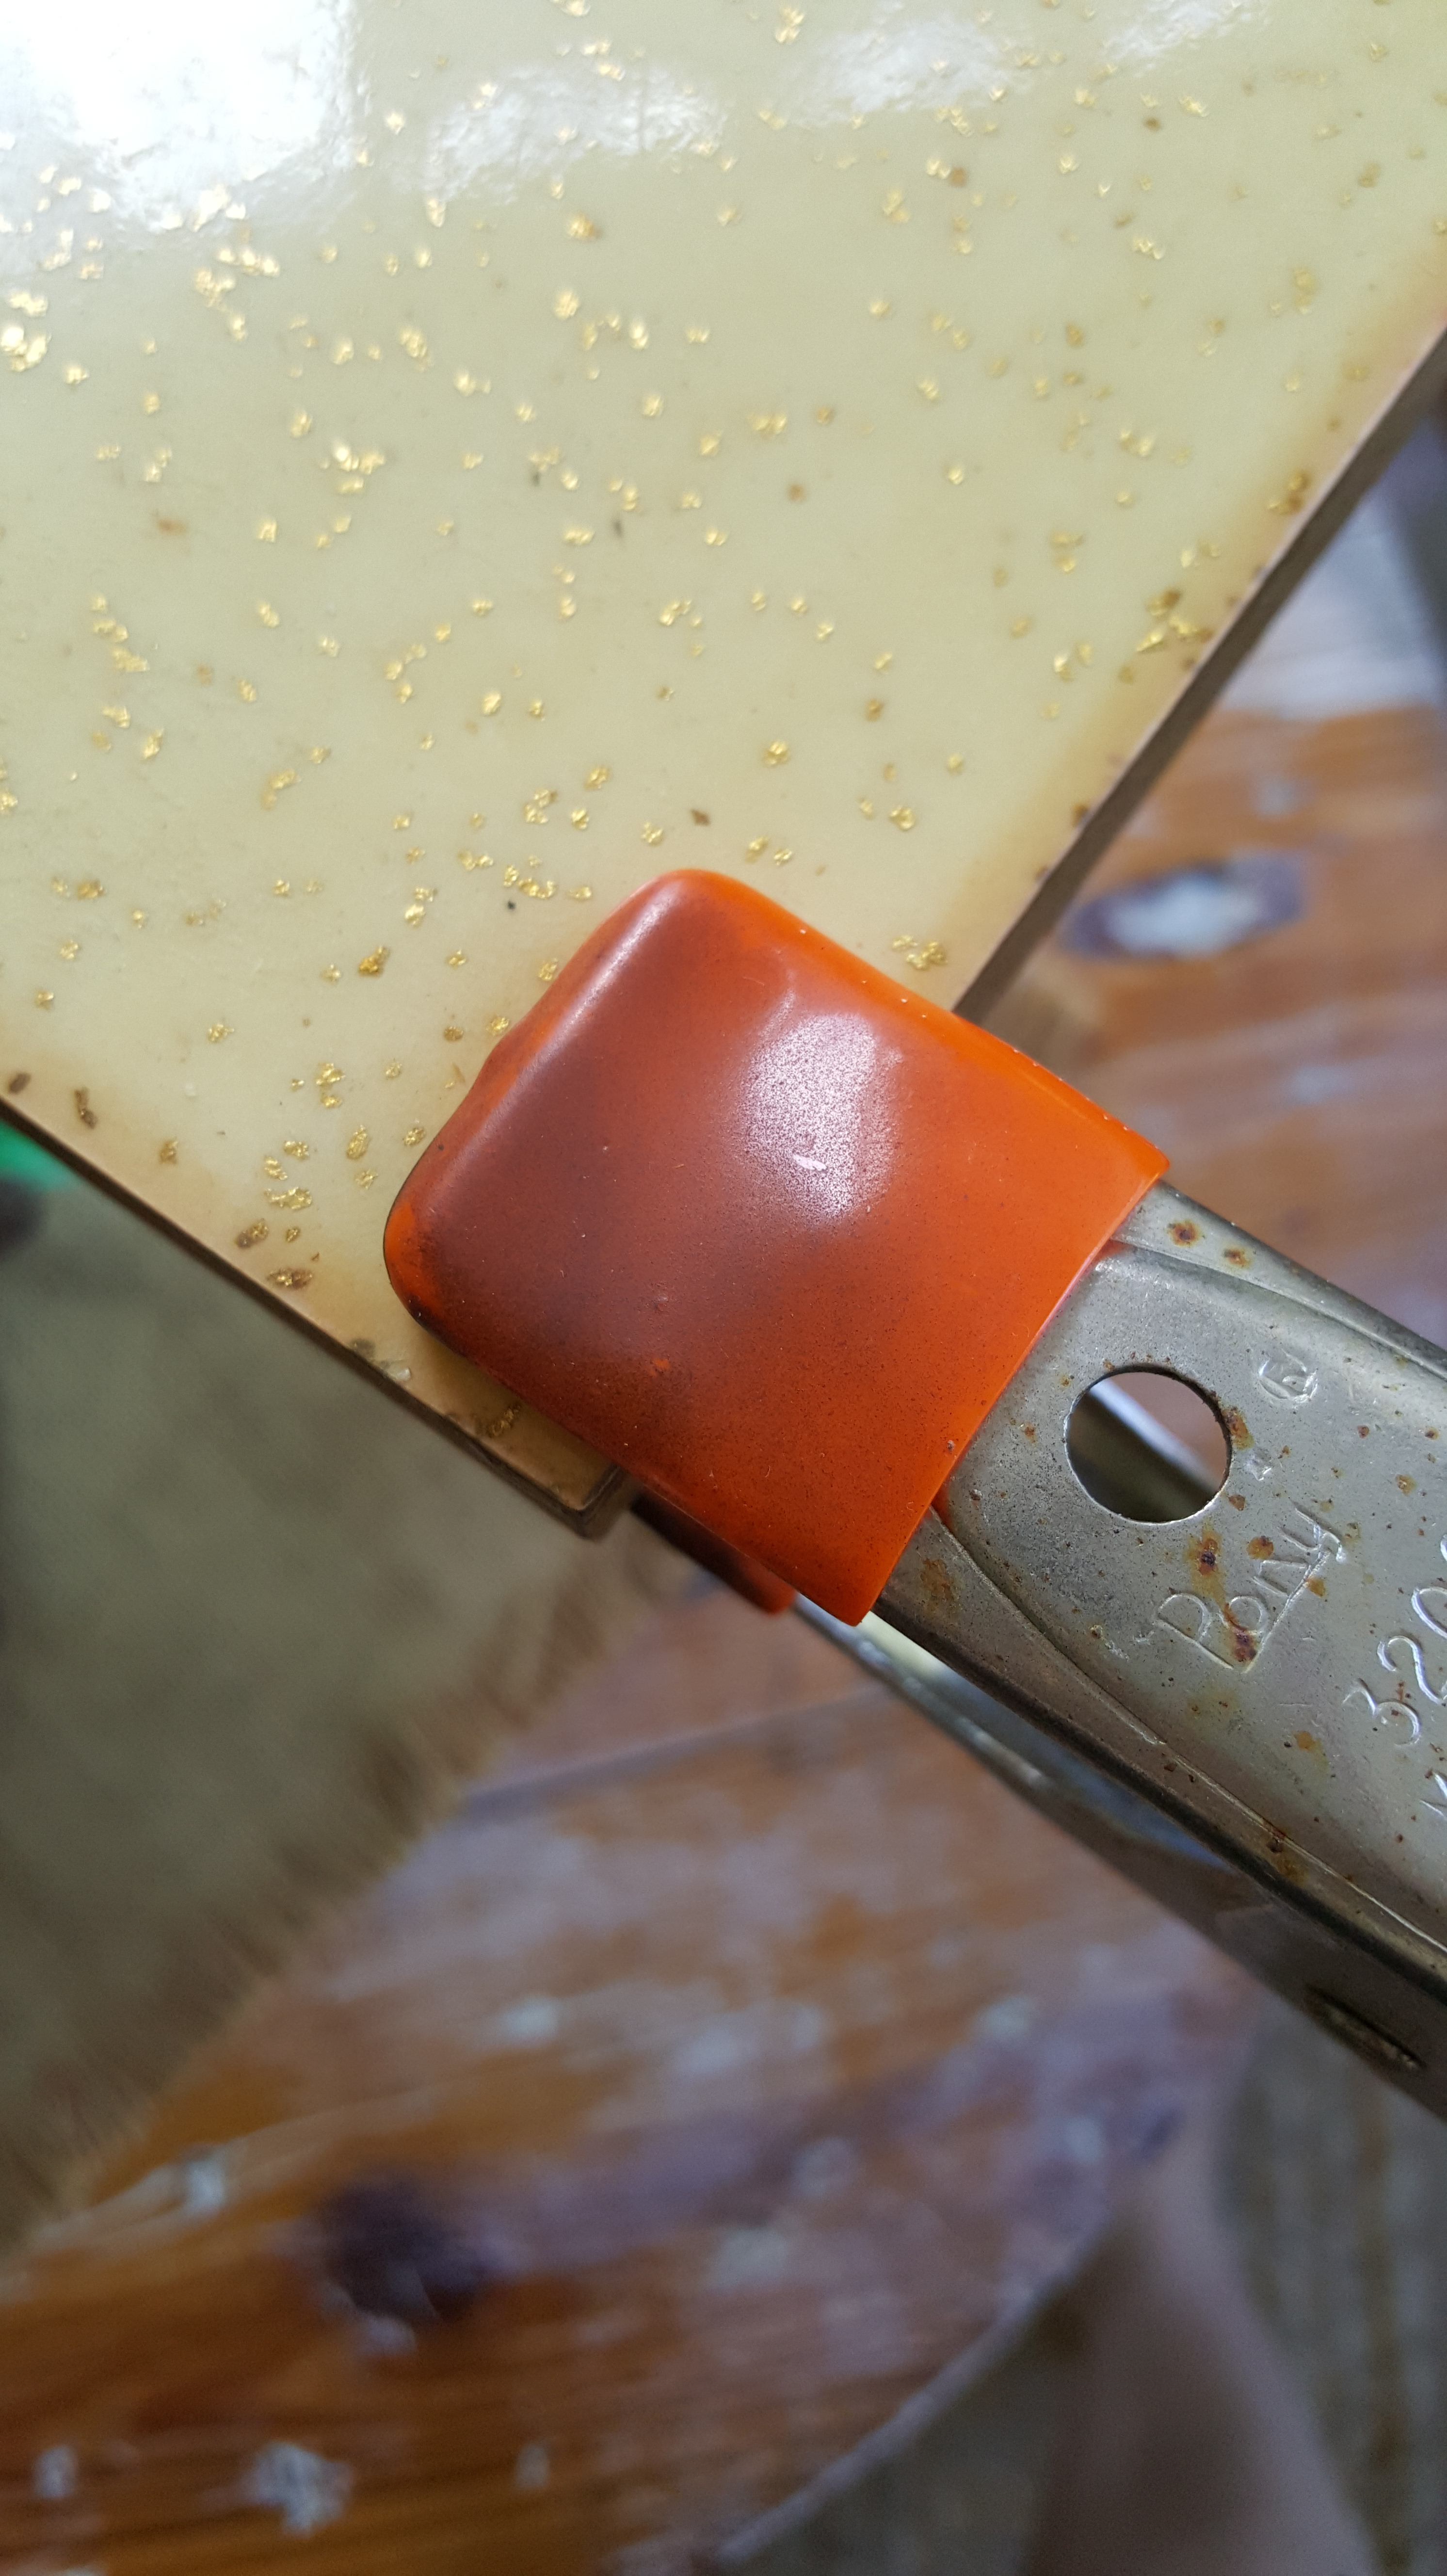
First, I fixed the corner that was lifting with some wood glue and a clamp. I let it dry for a few hours.
Then it was time to paint. I love using spray paint when I can and the Rust-Oleum 2X Coverage is my favorite because it covers so well.
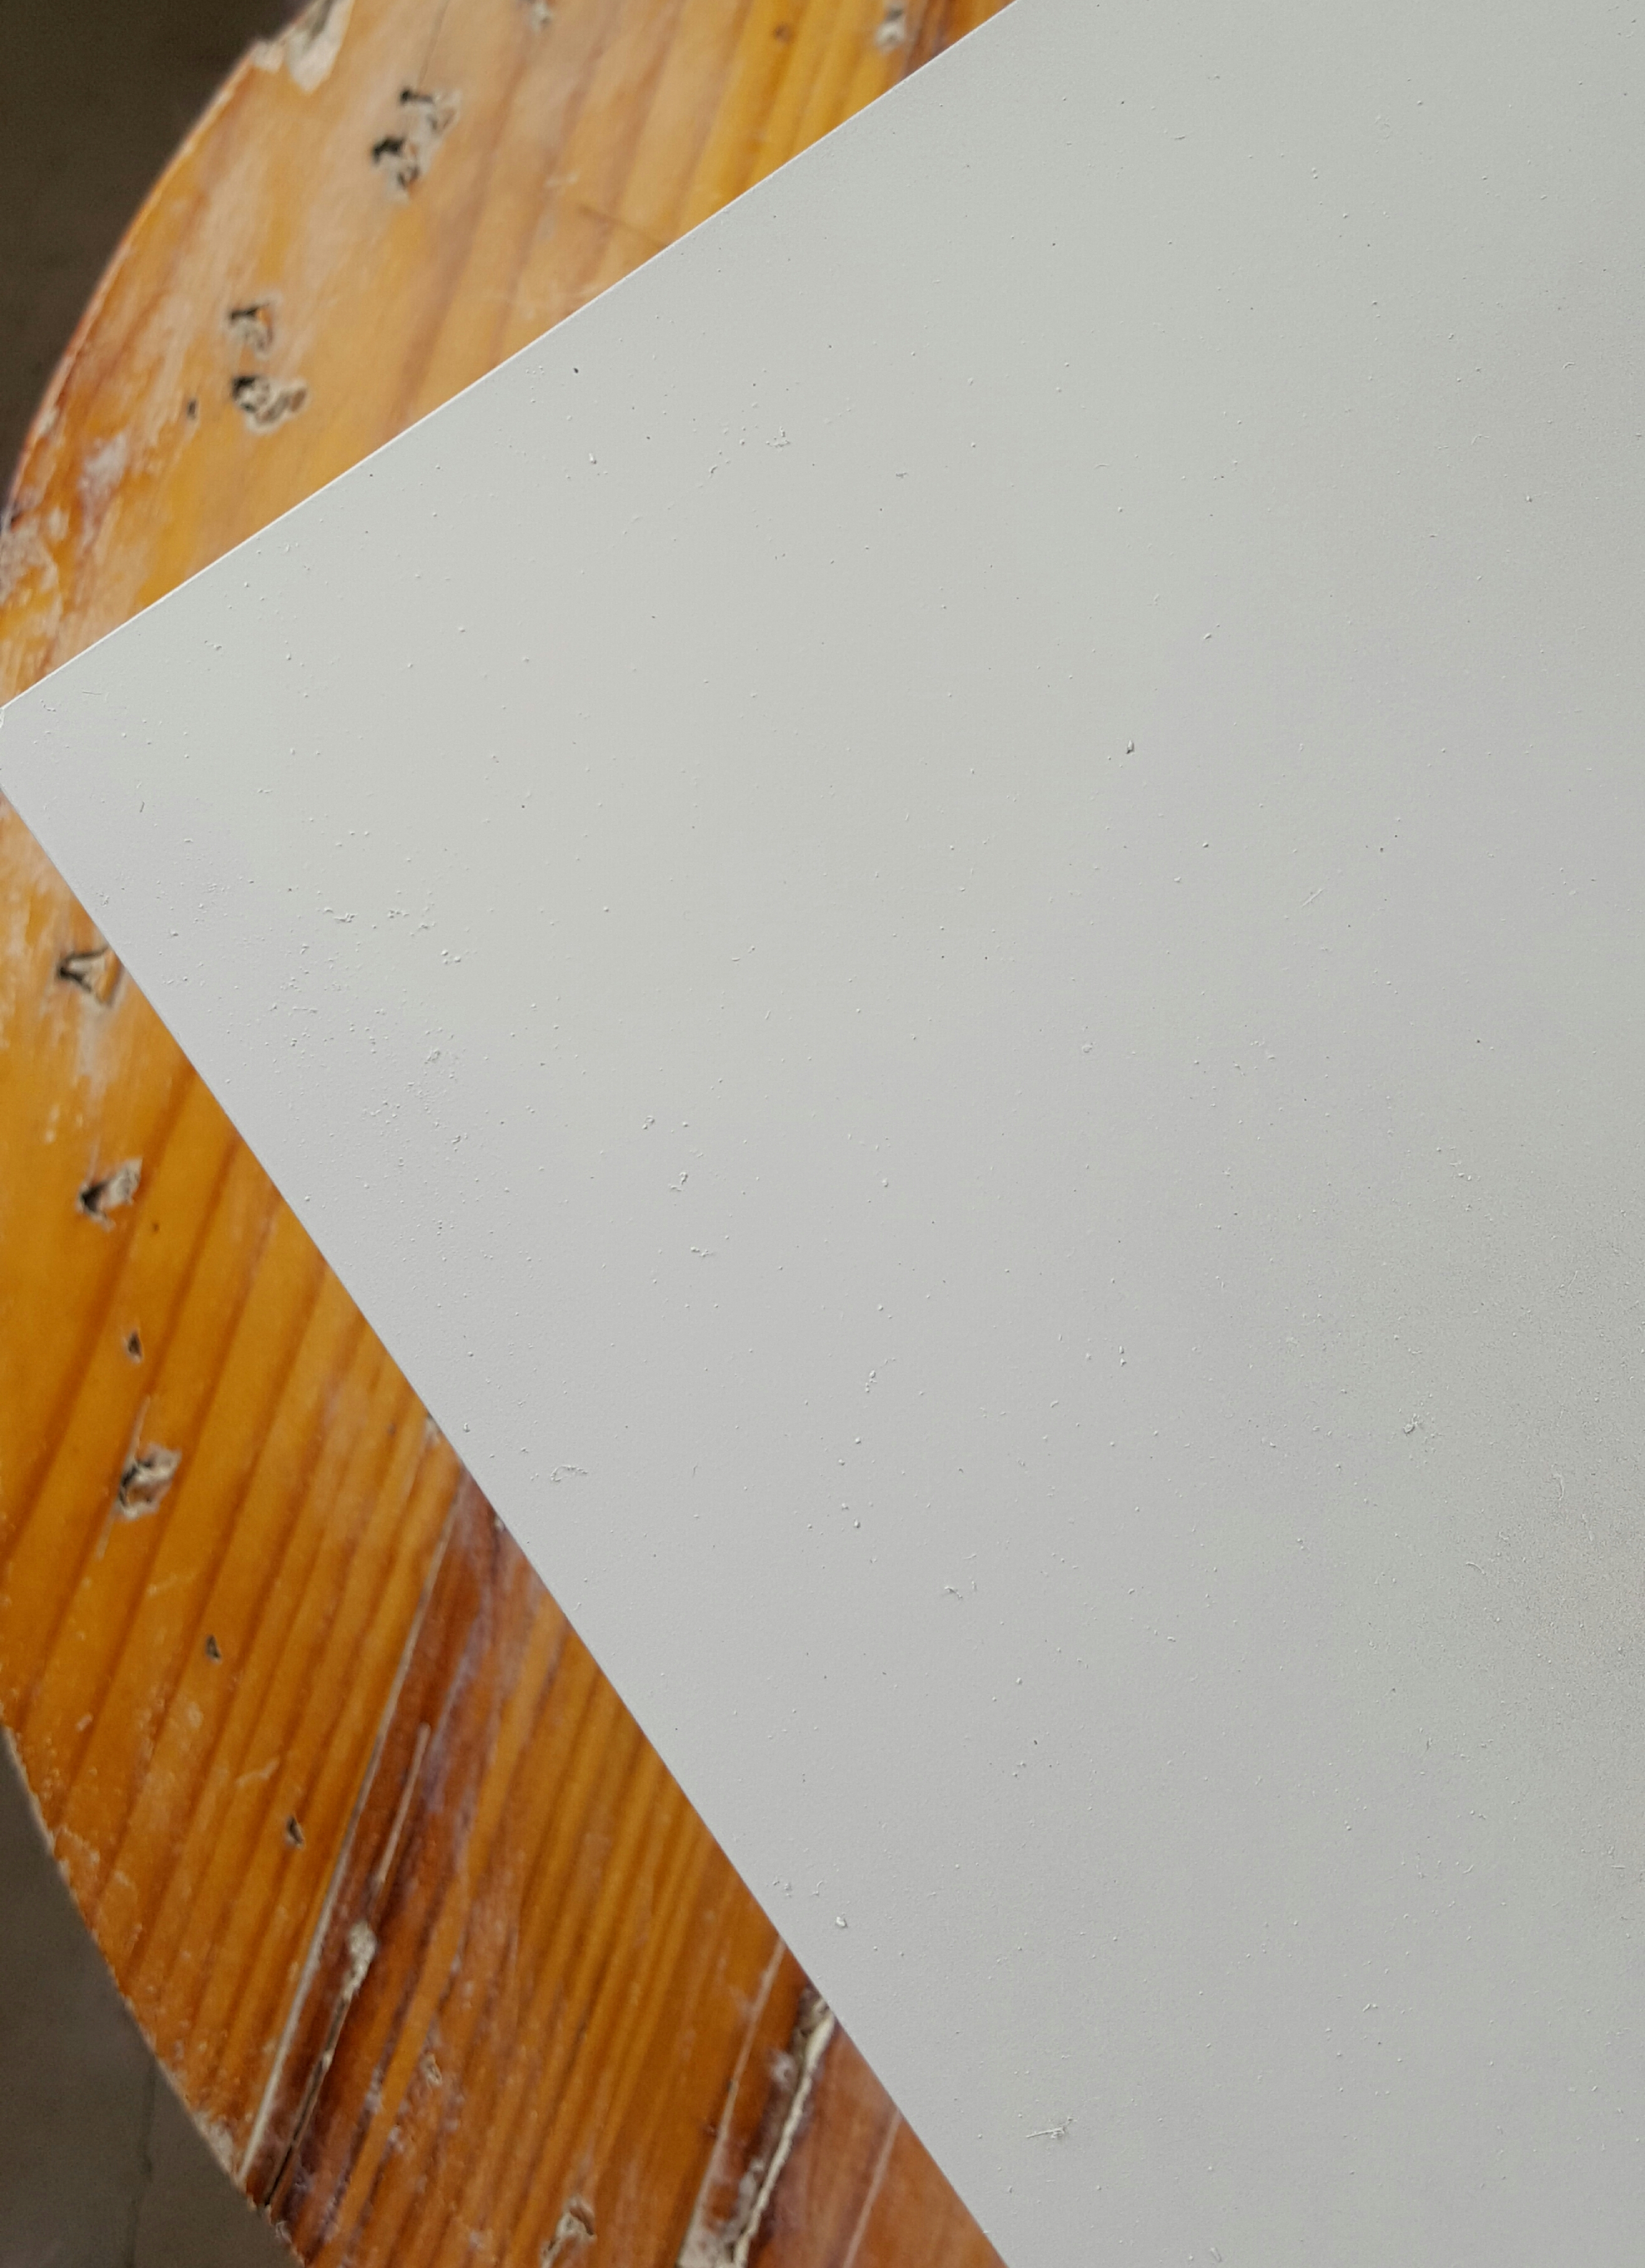
Now that the table was dry, it was time to figure out the pattern and the spacing. I measured an inch border all the way around.
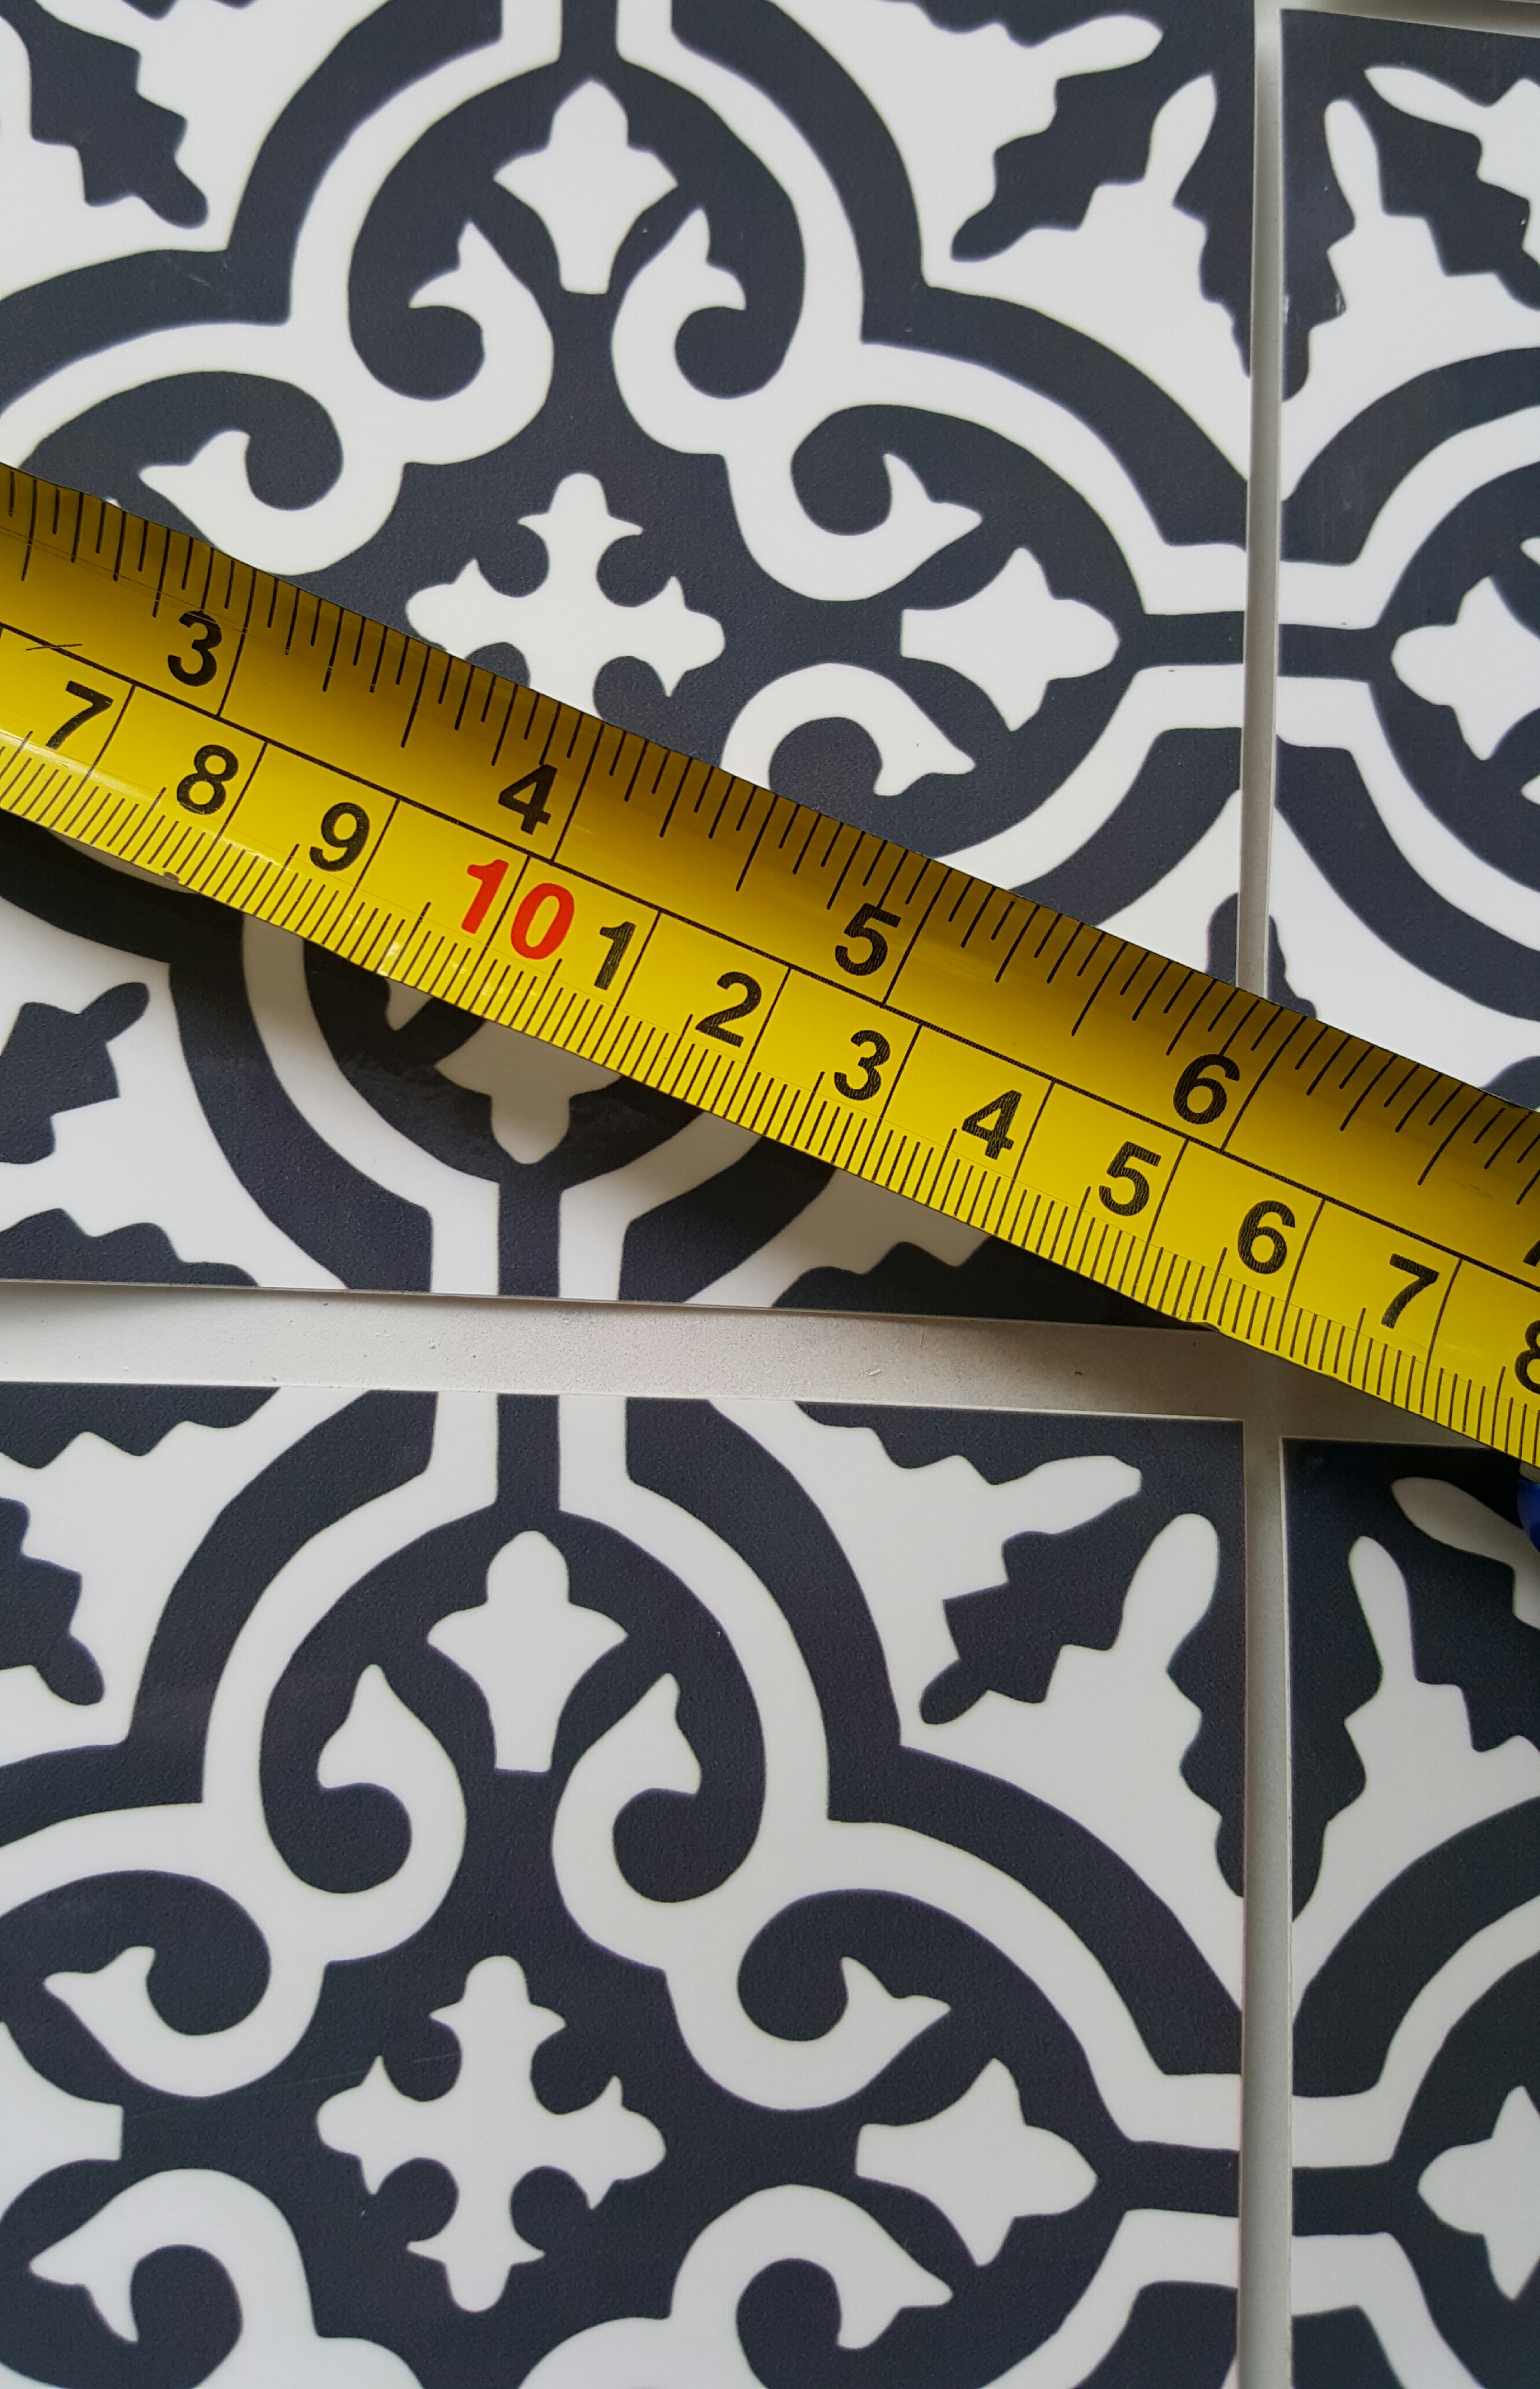
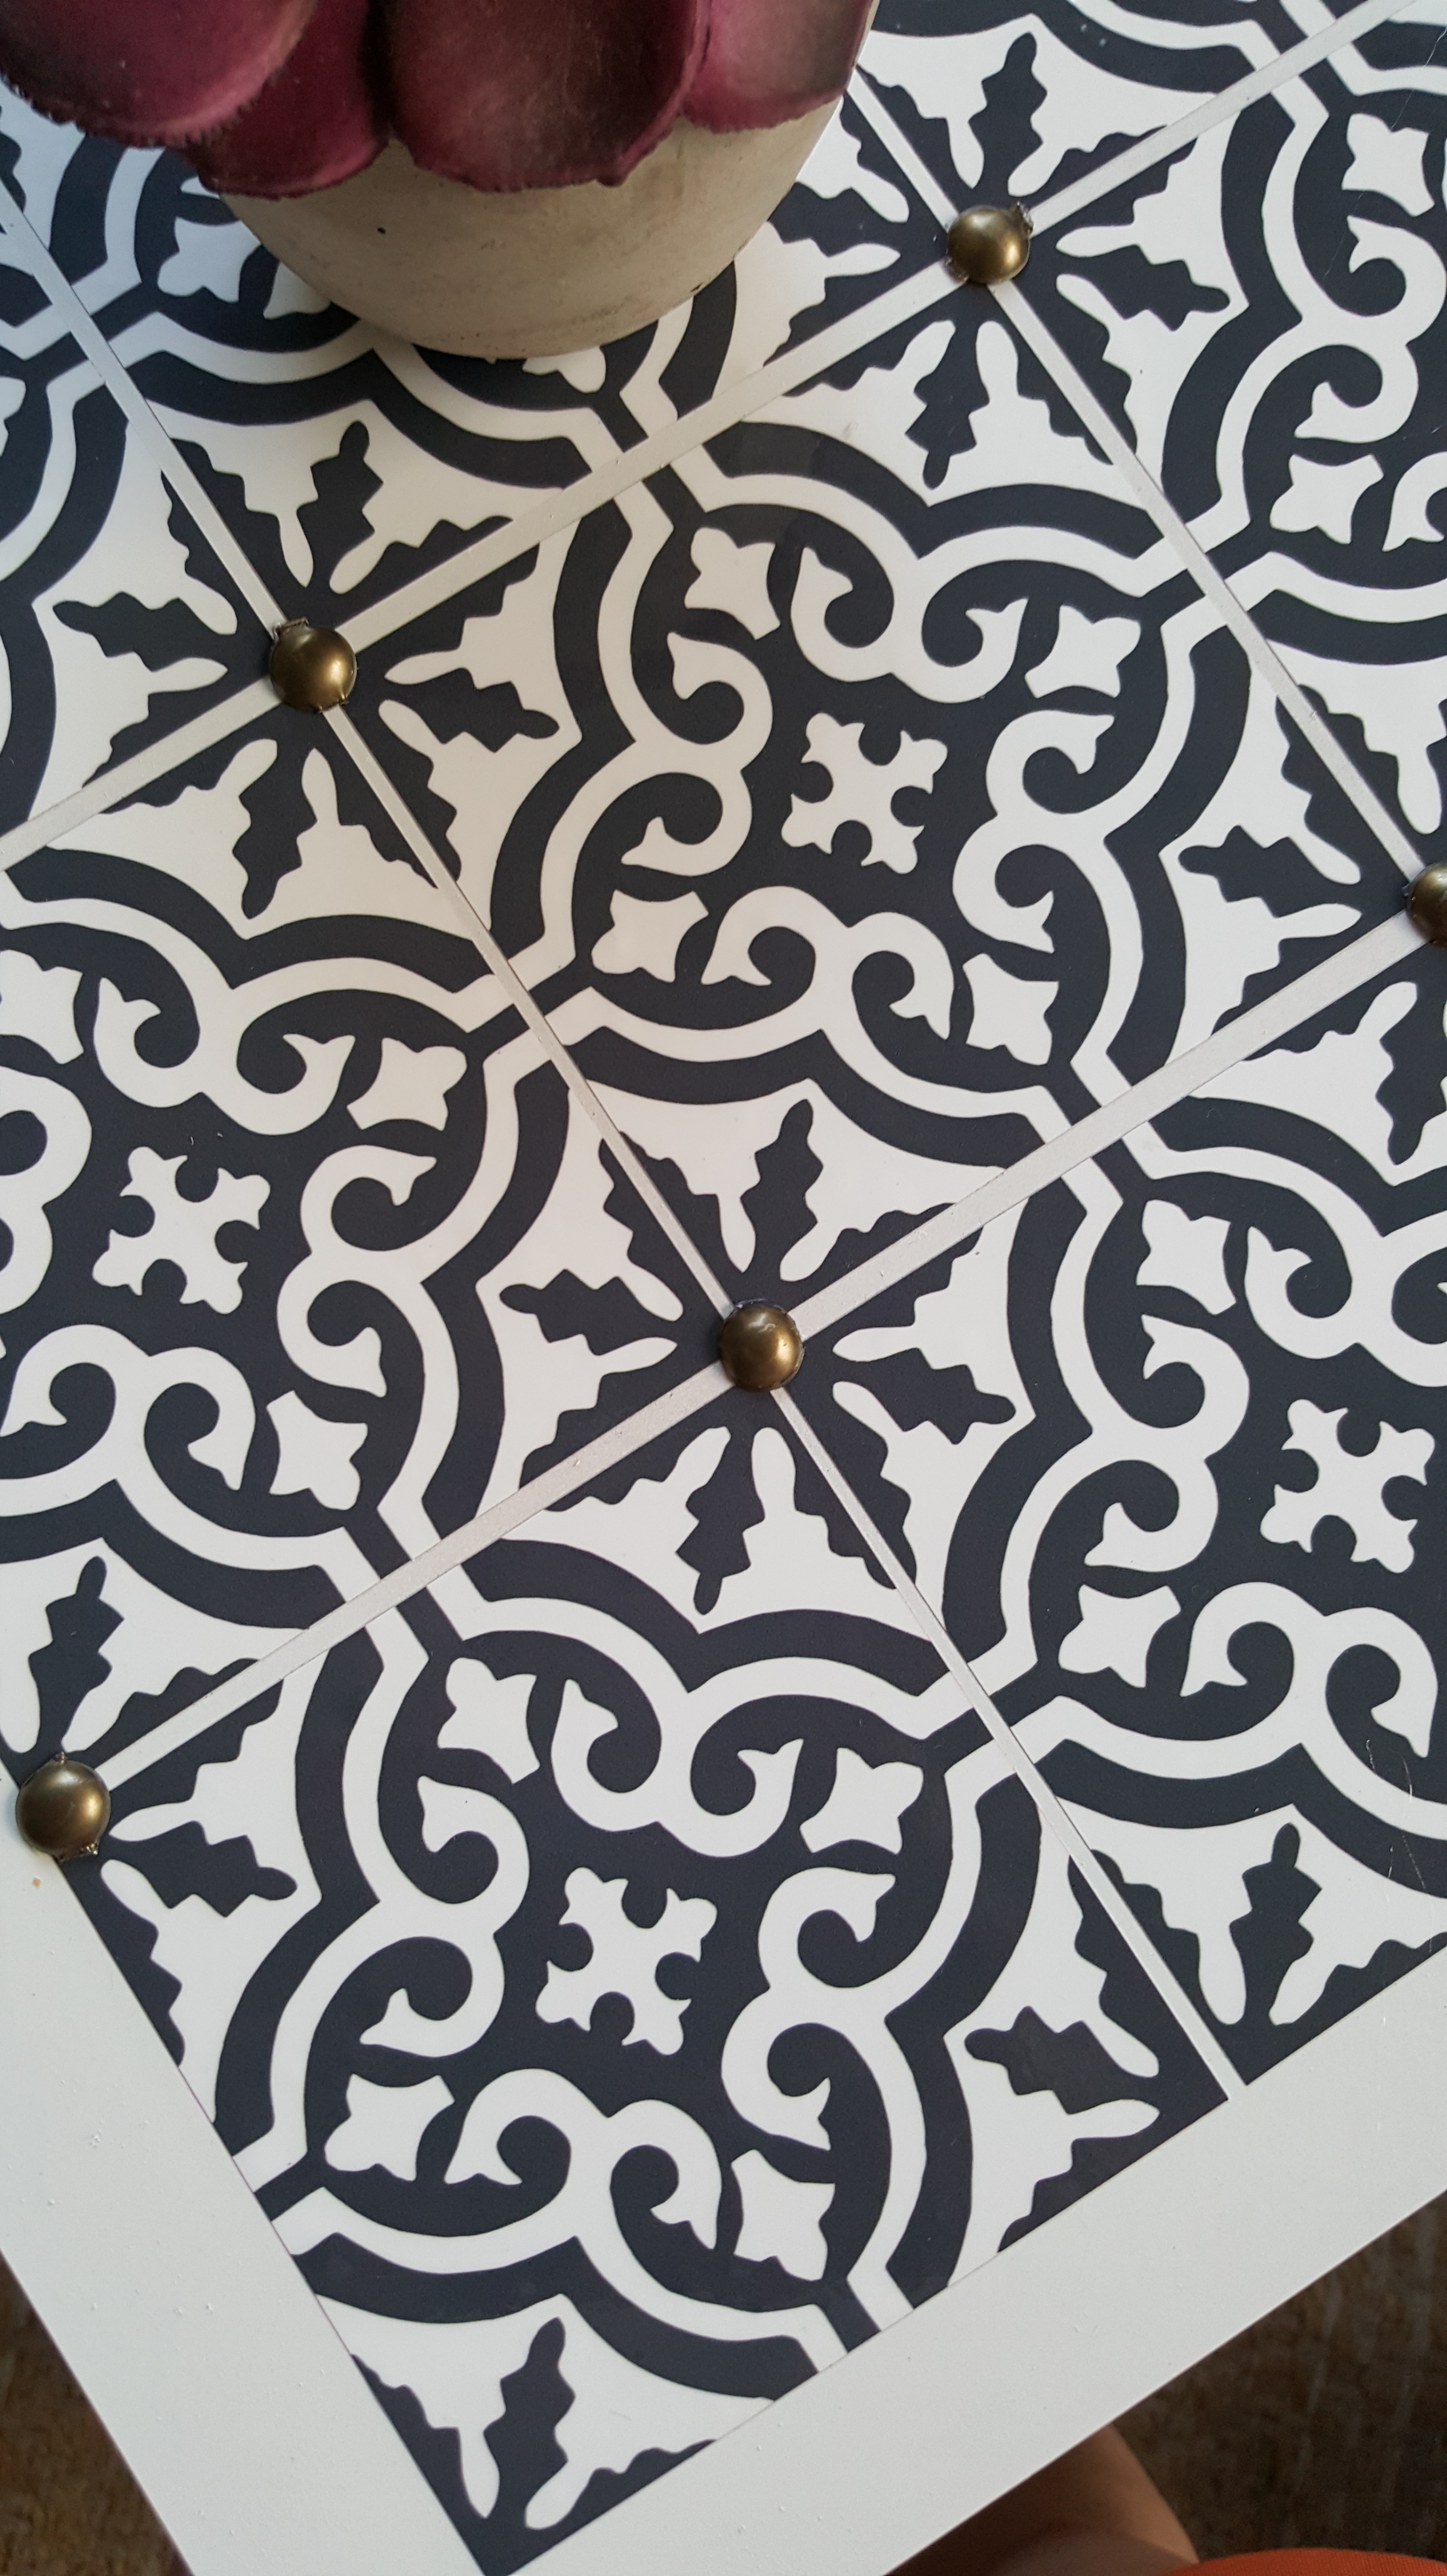
I placed the “tiles” on the table top to get an idea of how I wanted them to go. Then it was time to put them on. Here is the best part…these tiles are 4″ x 4″ sticker decals!!!! Best invention ever!!! They have a strong bond that will adhere to wood and ceramic tile. You can use them on a number of surfaces as long as you follow the directions. They are amazing!! I’ve included a link to them here .
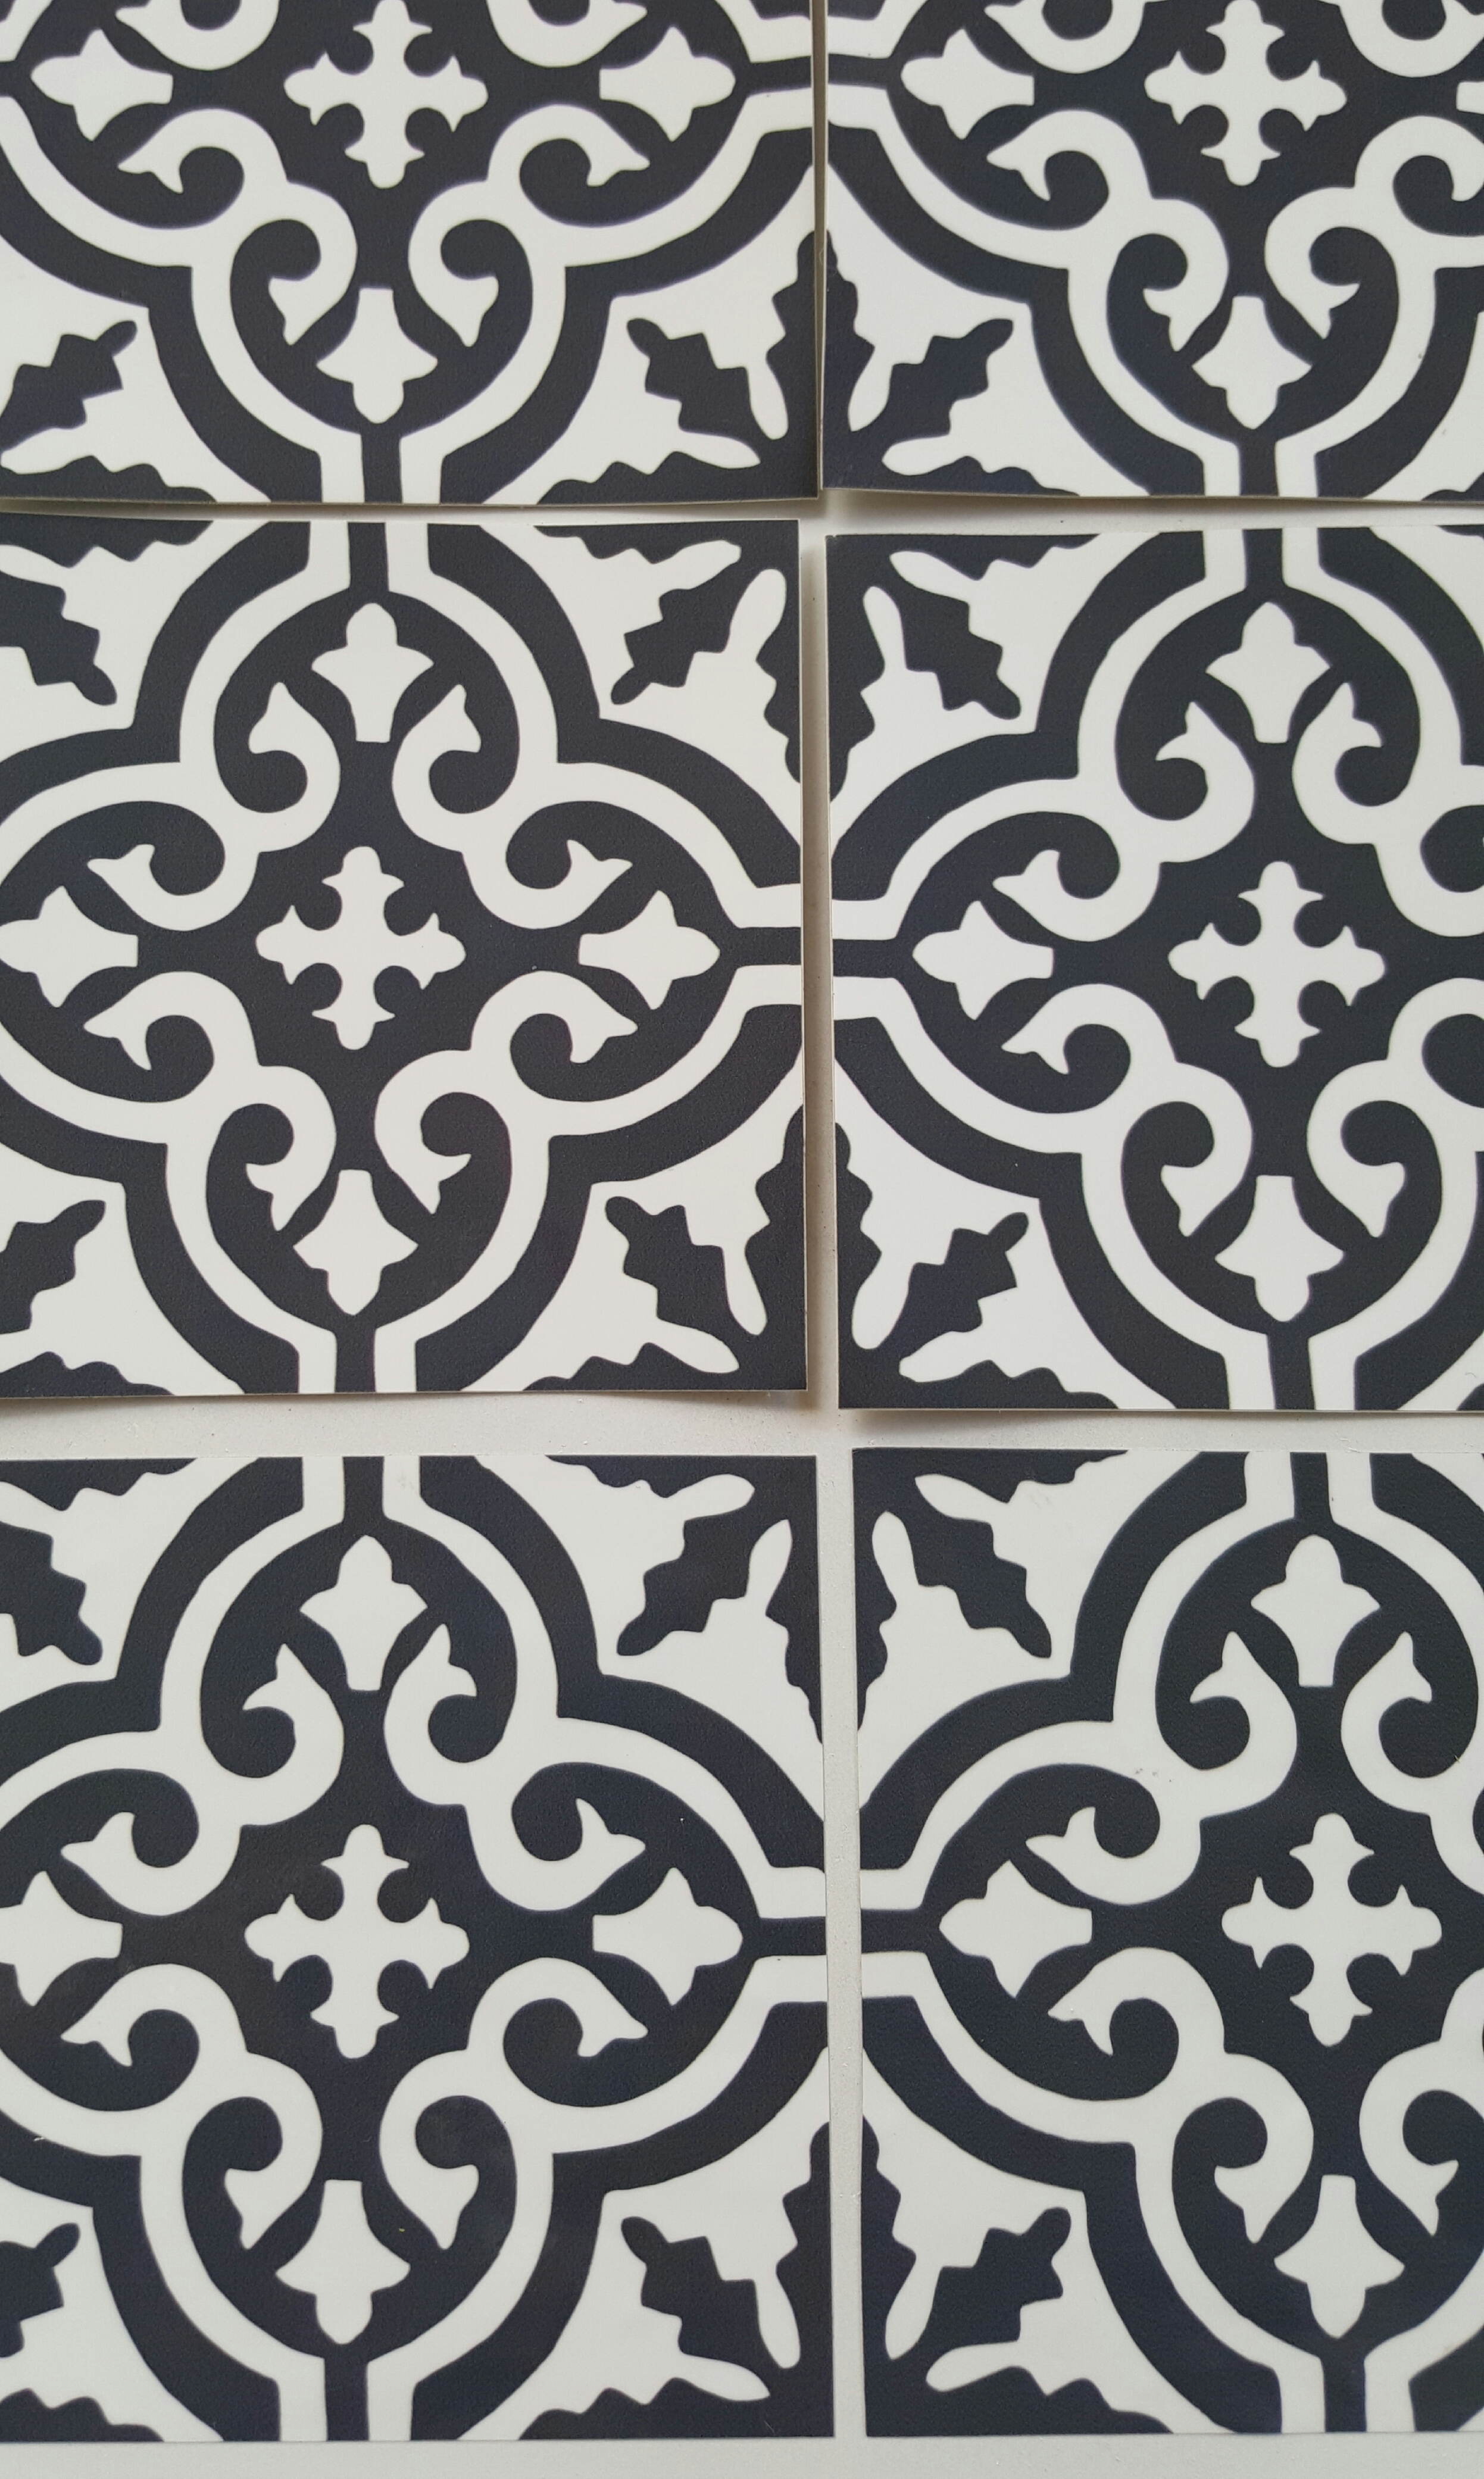
I spaced them out to look like there was a small grout line. I started on the bottom row middle to keep a straight guide. Then I slowly worked my way around. Once they are all on, I used a straight edge to smooth the bubbles out.
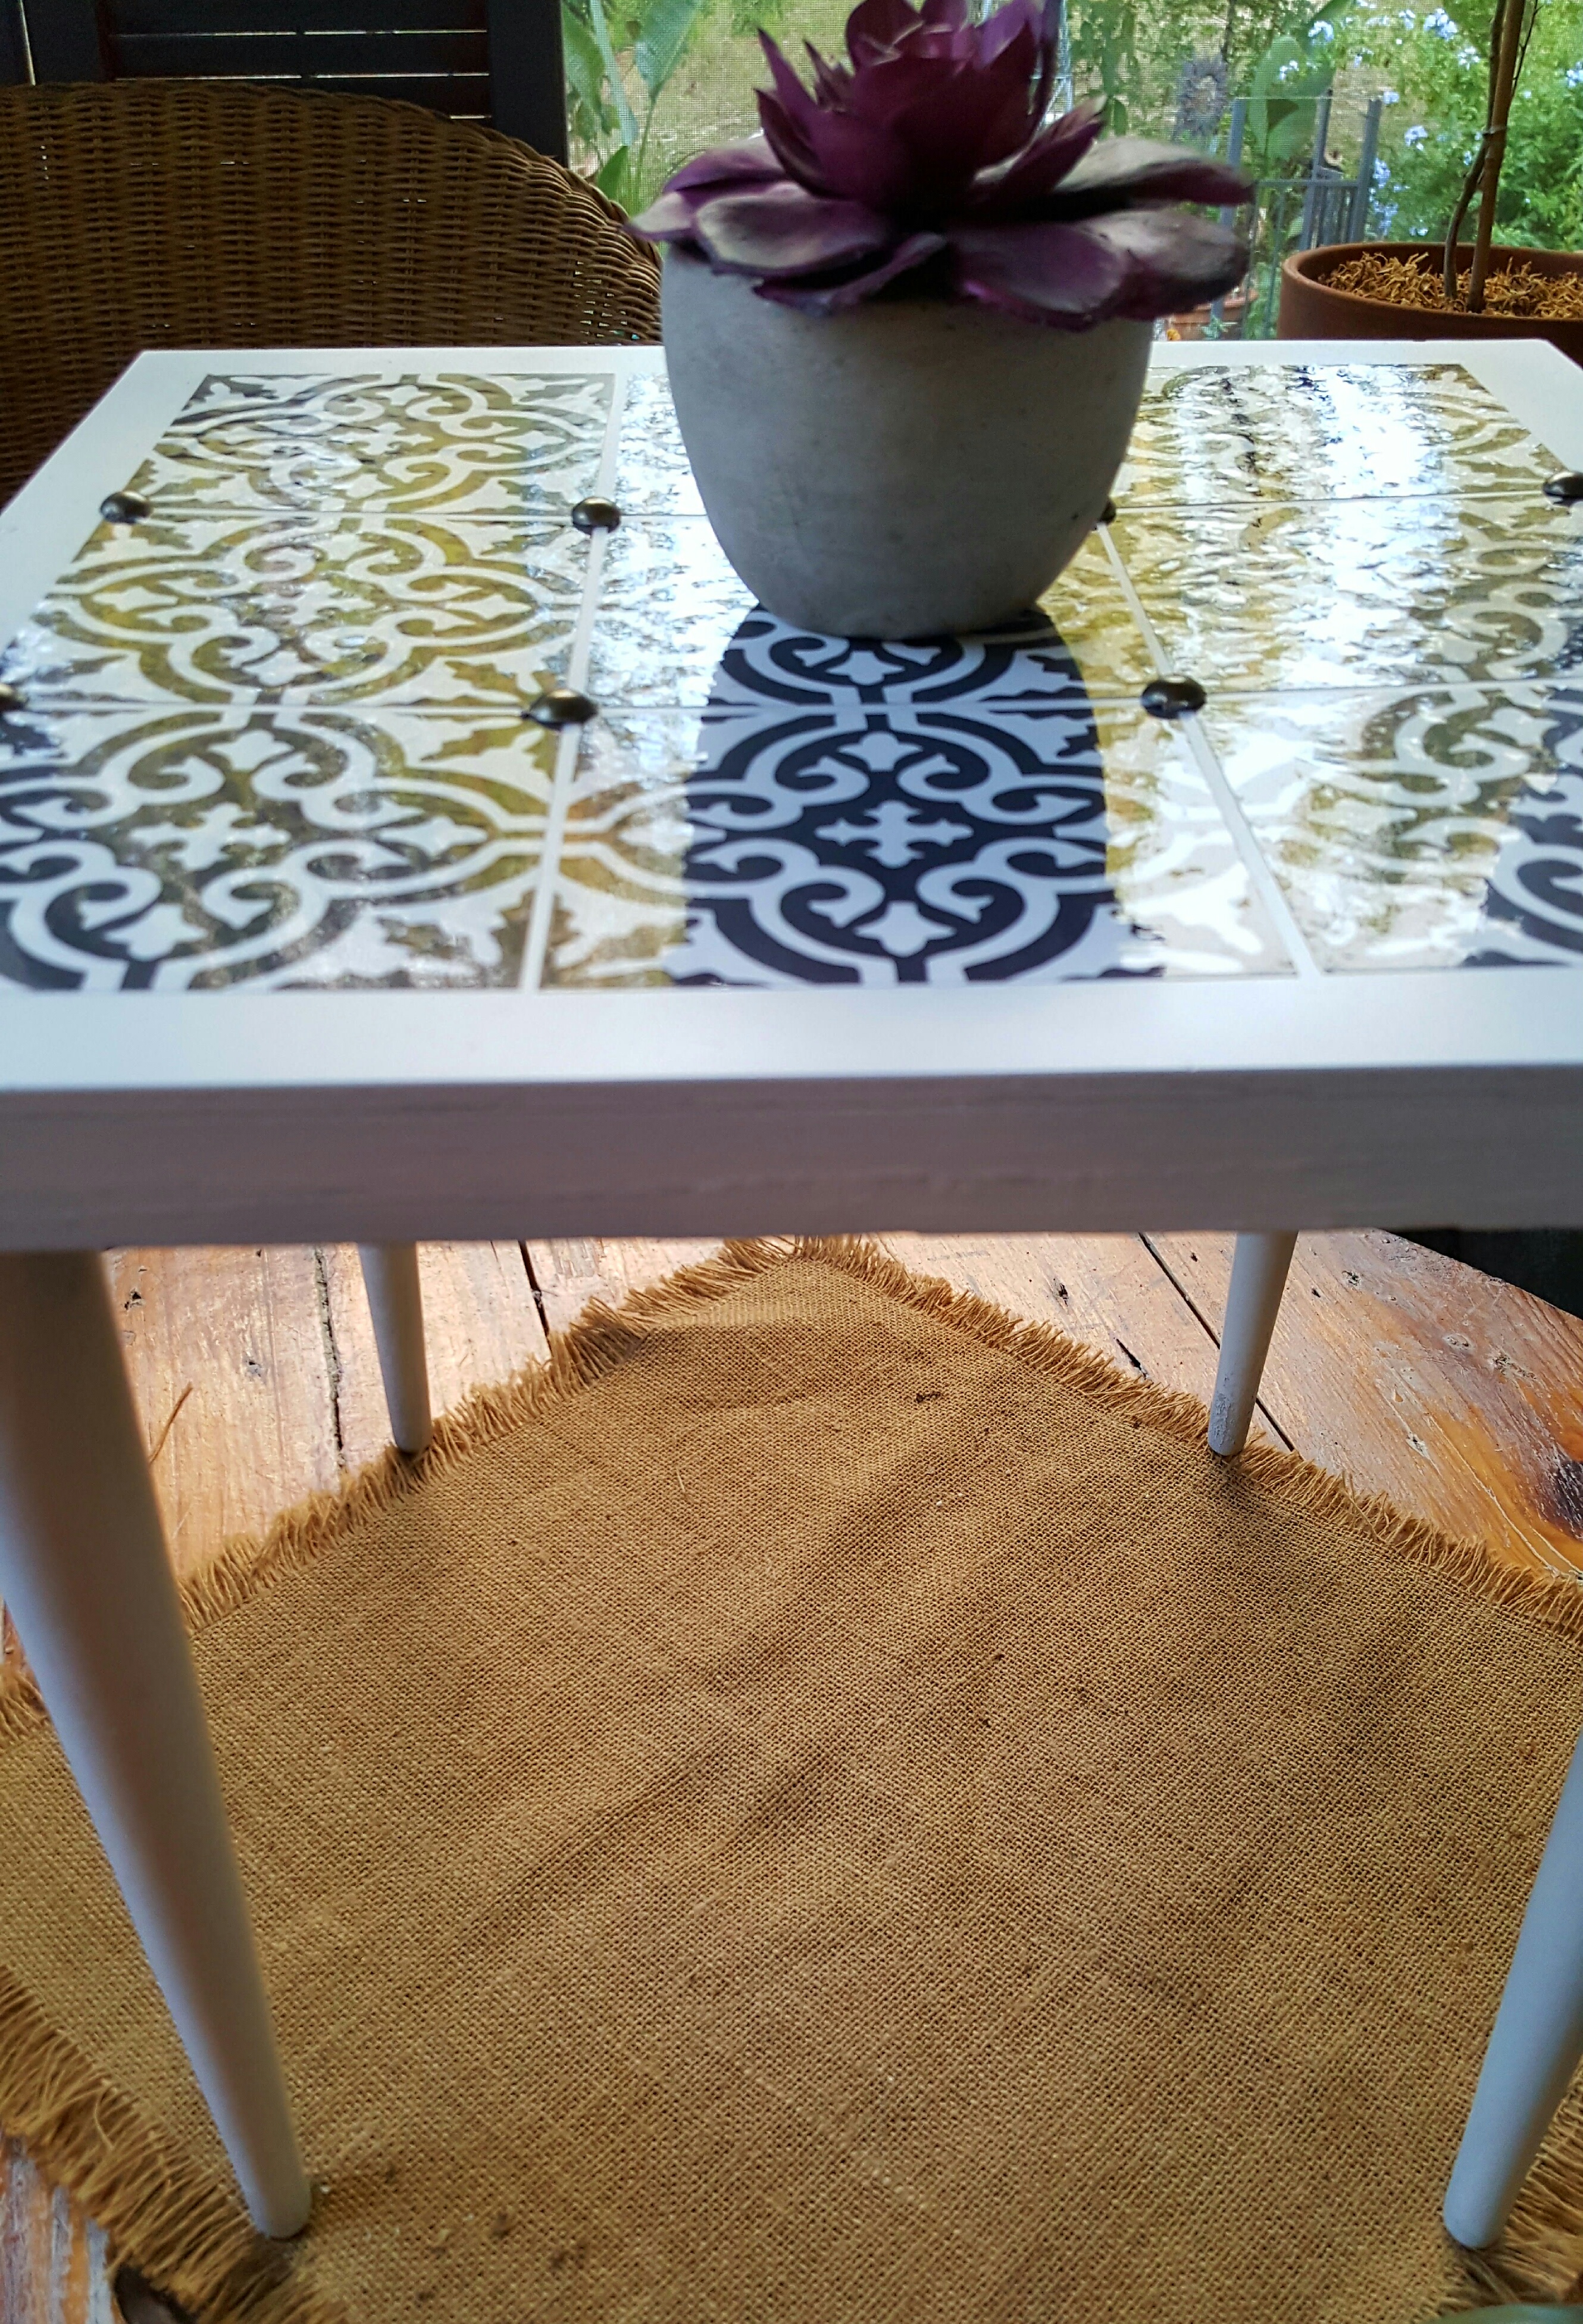
To add a little bit of embellishment for interest. I cut the nailhead trim that I had into individual pieces.
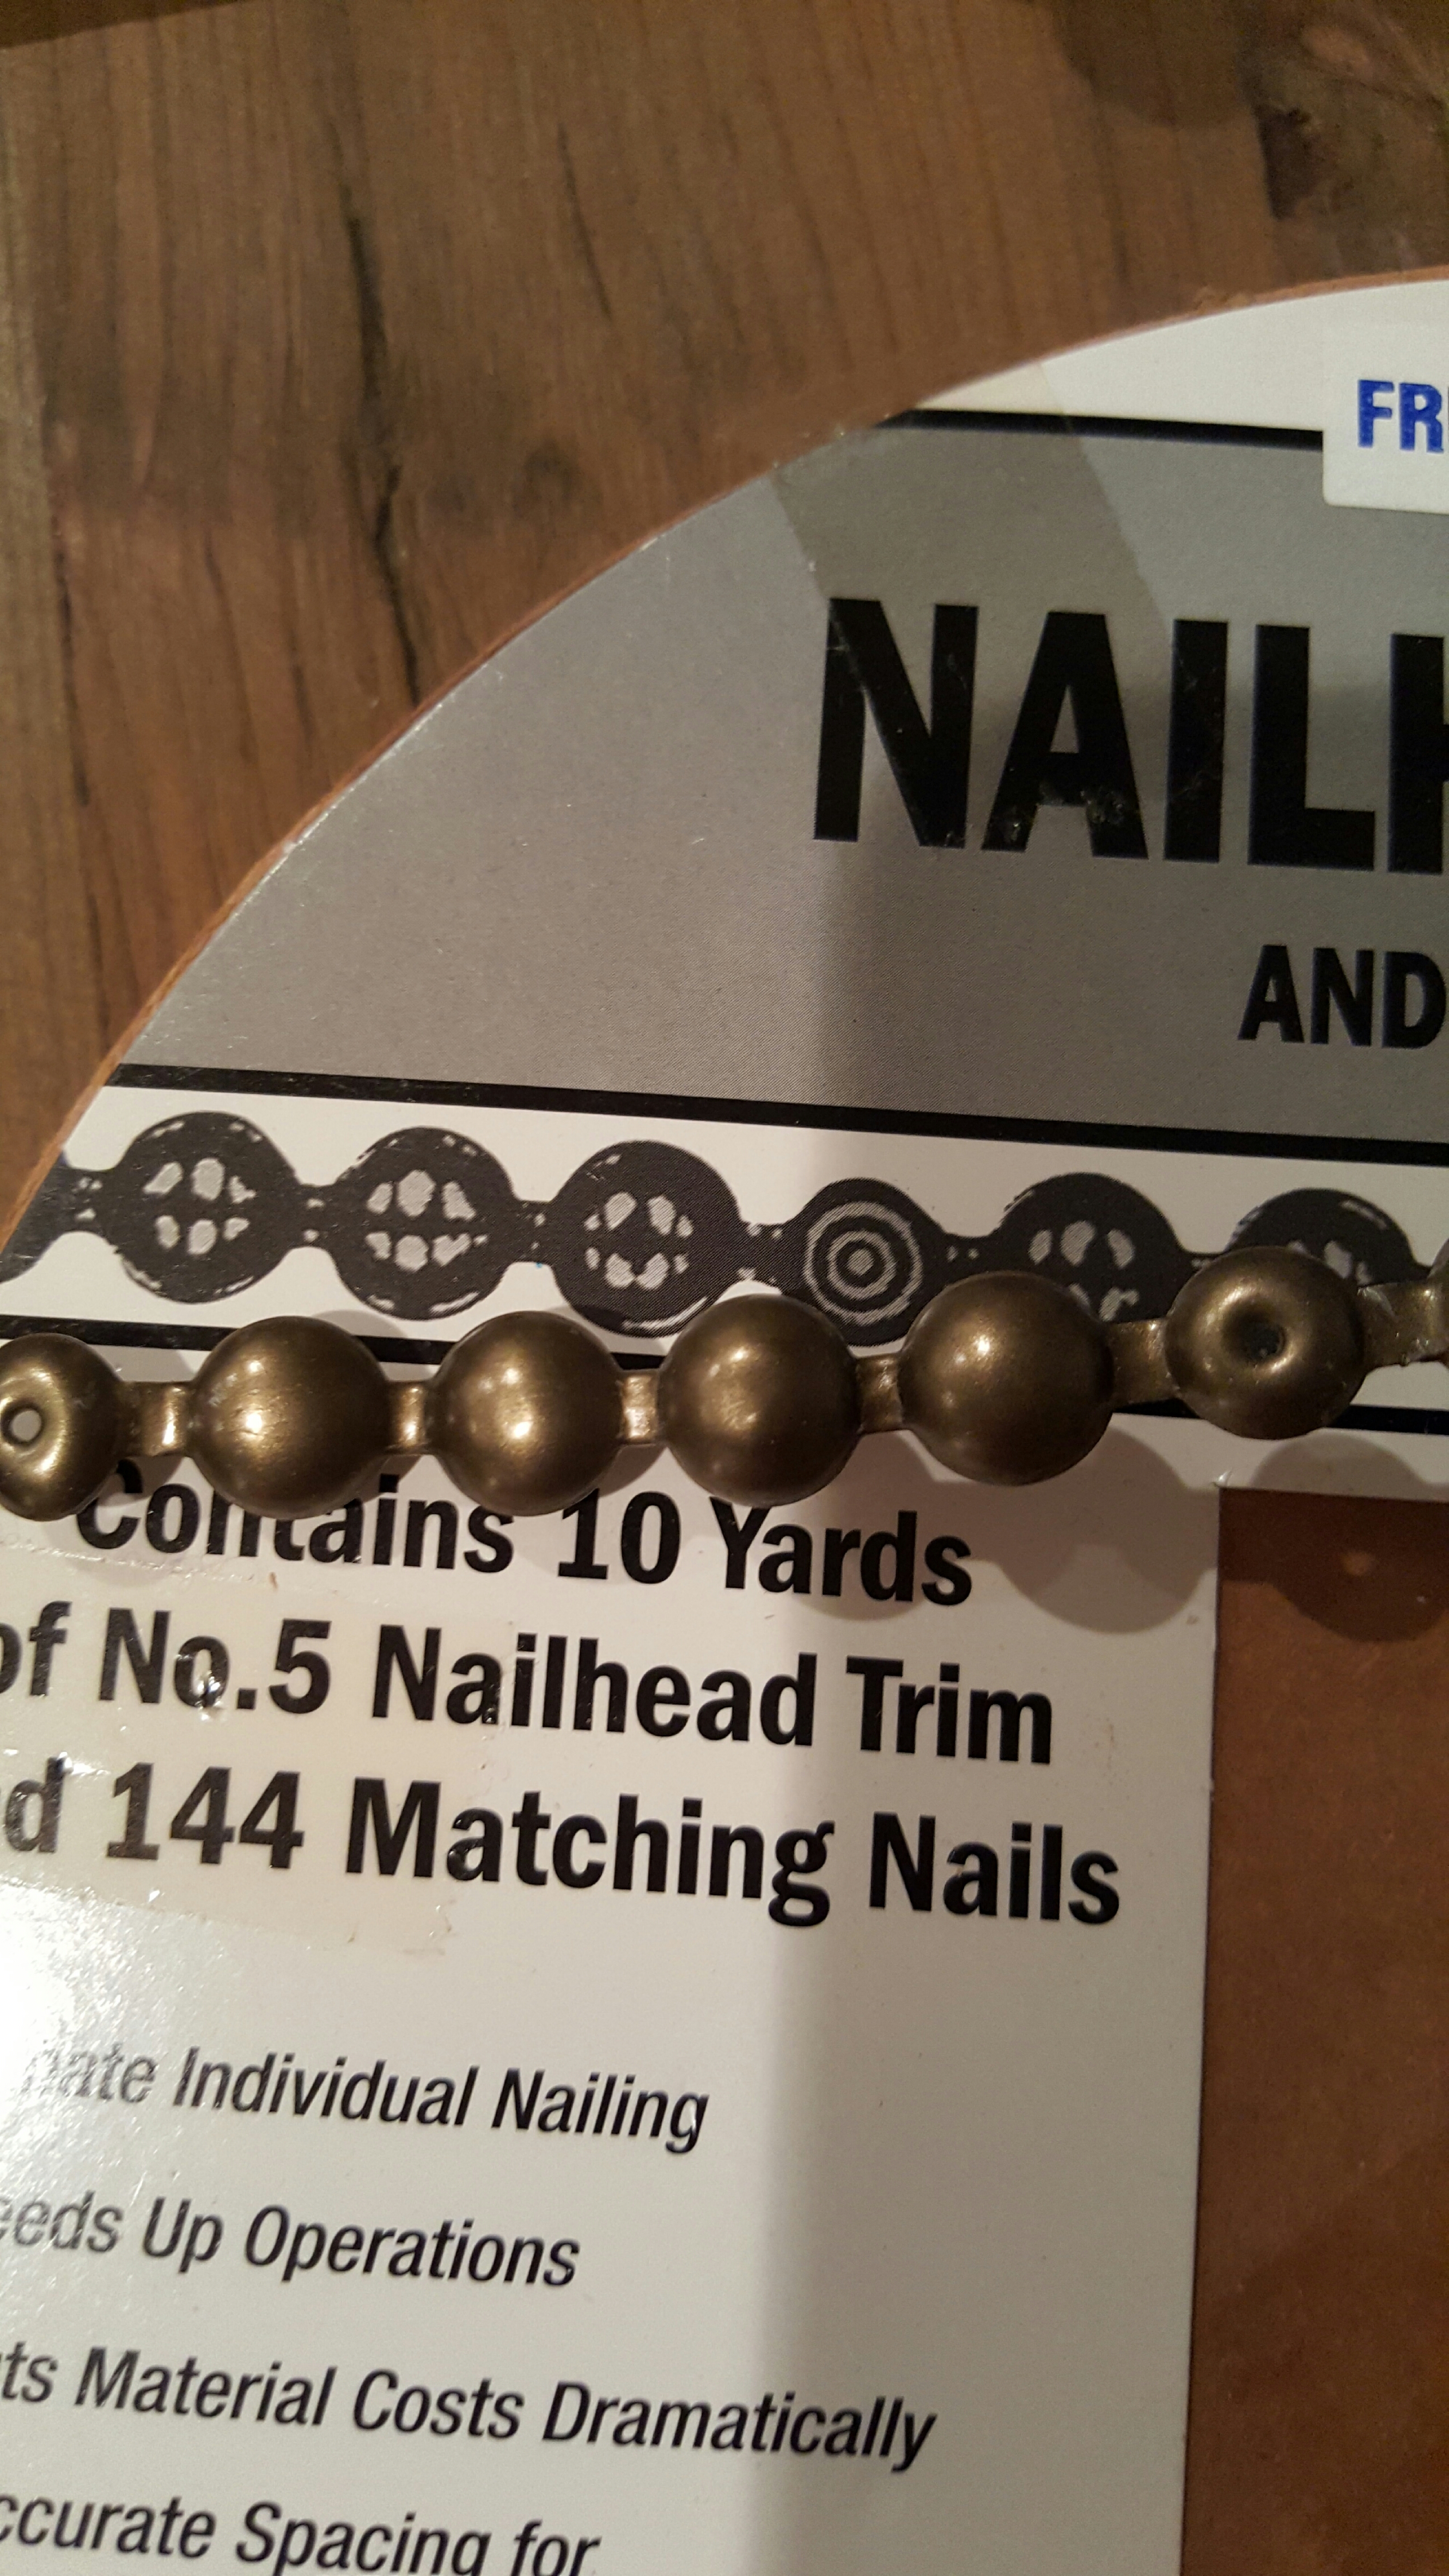
Then I used the glue gun to adhere them to the table. I think it added a nice touch to the table giving it a little more interest and detail.
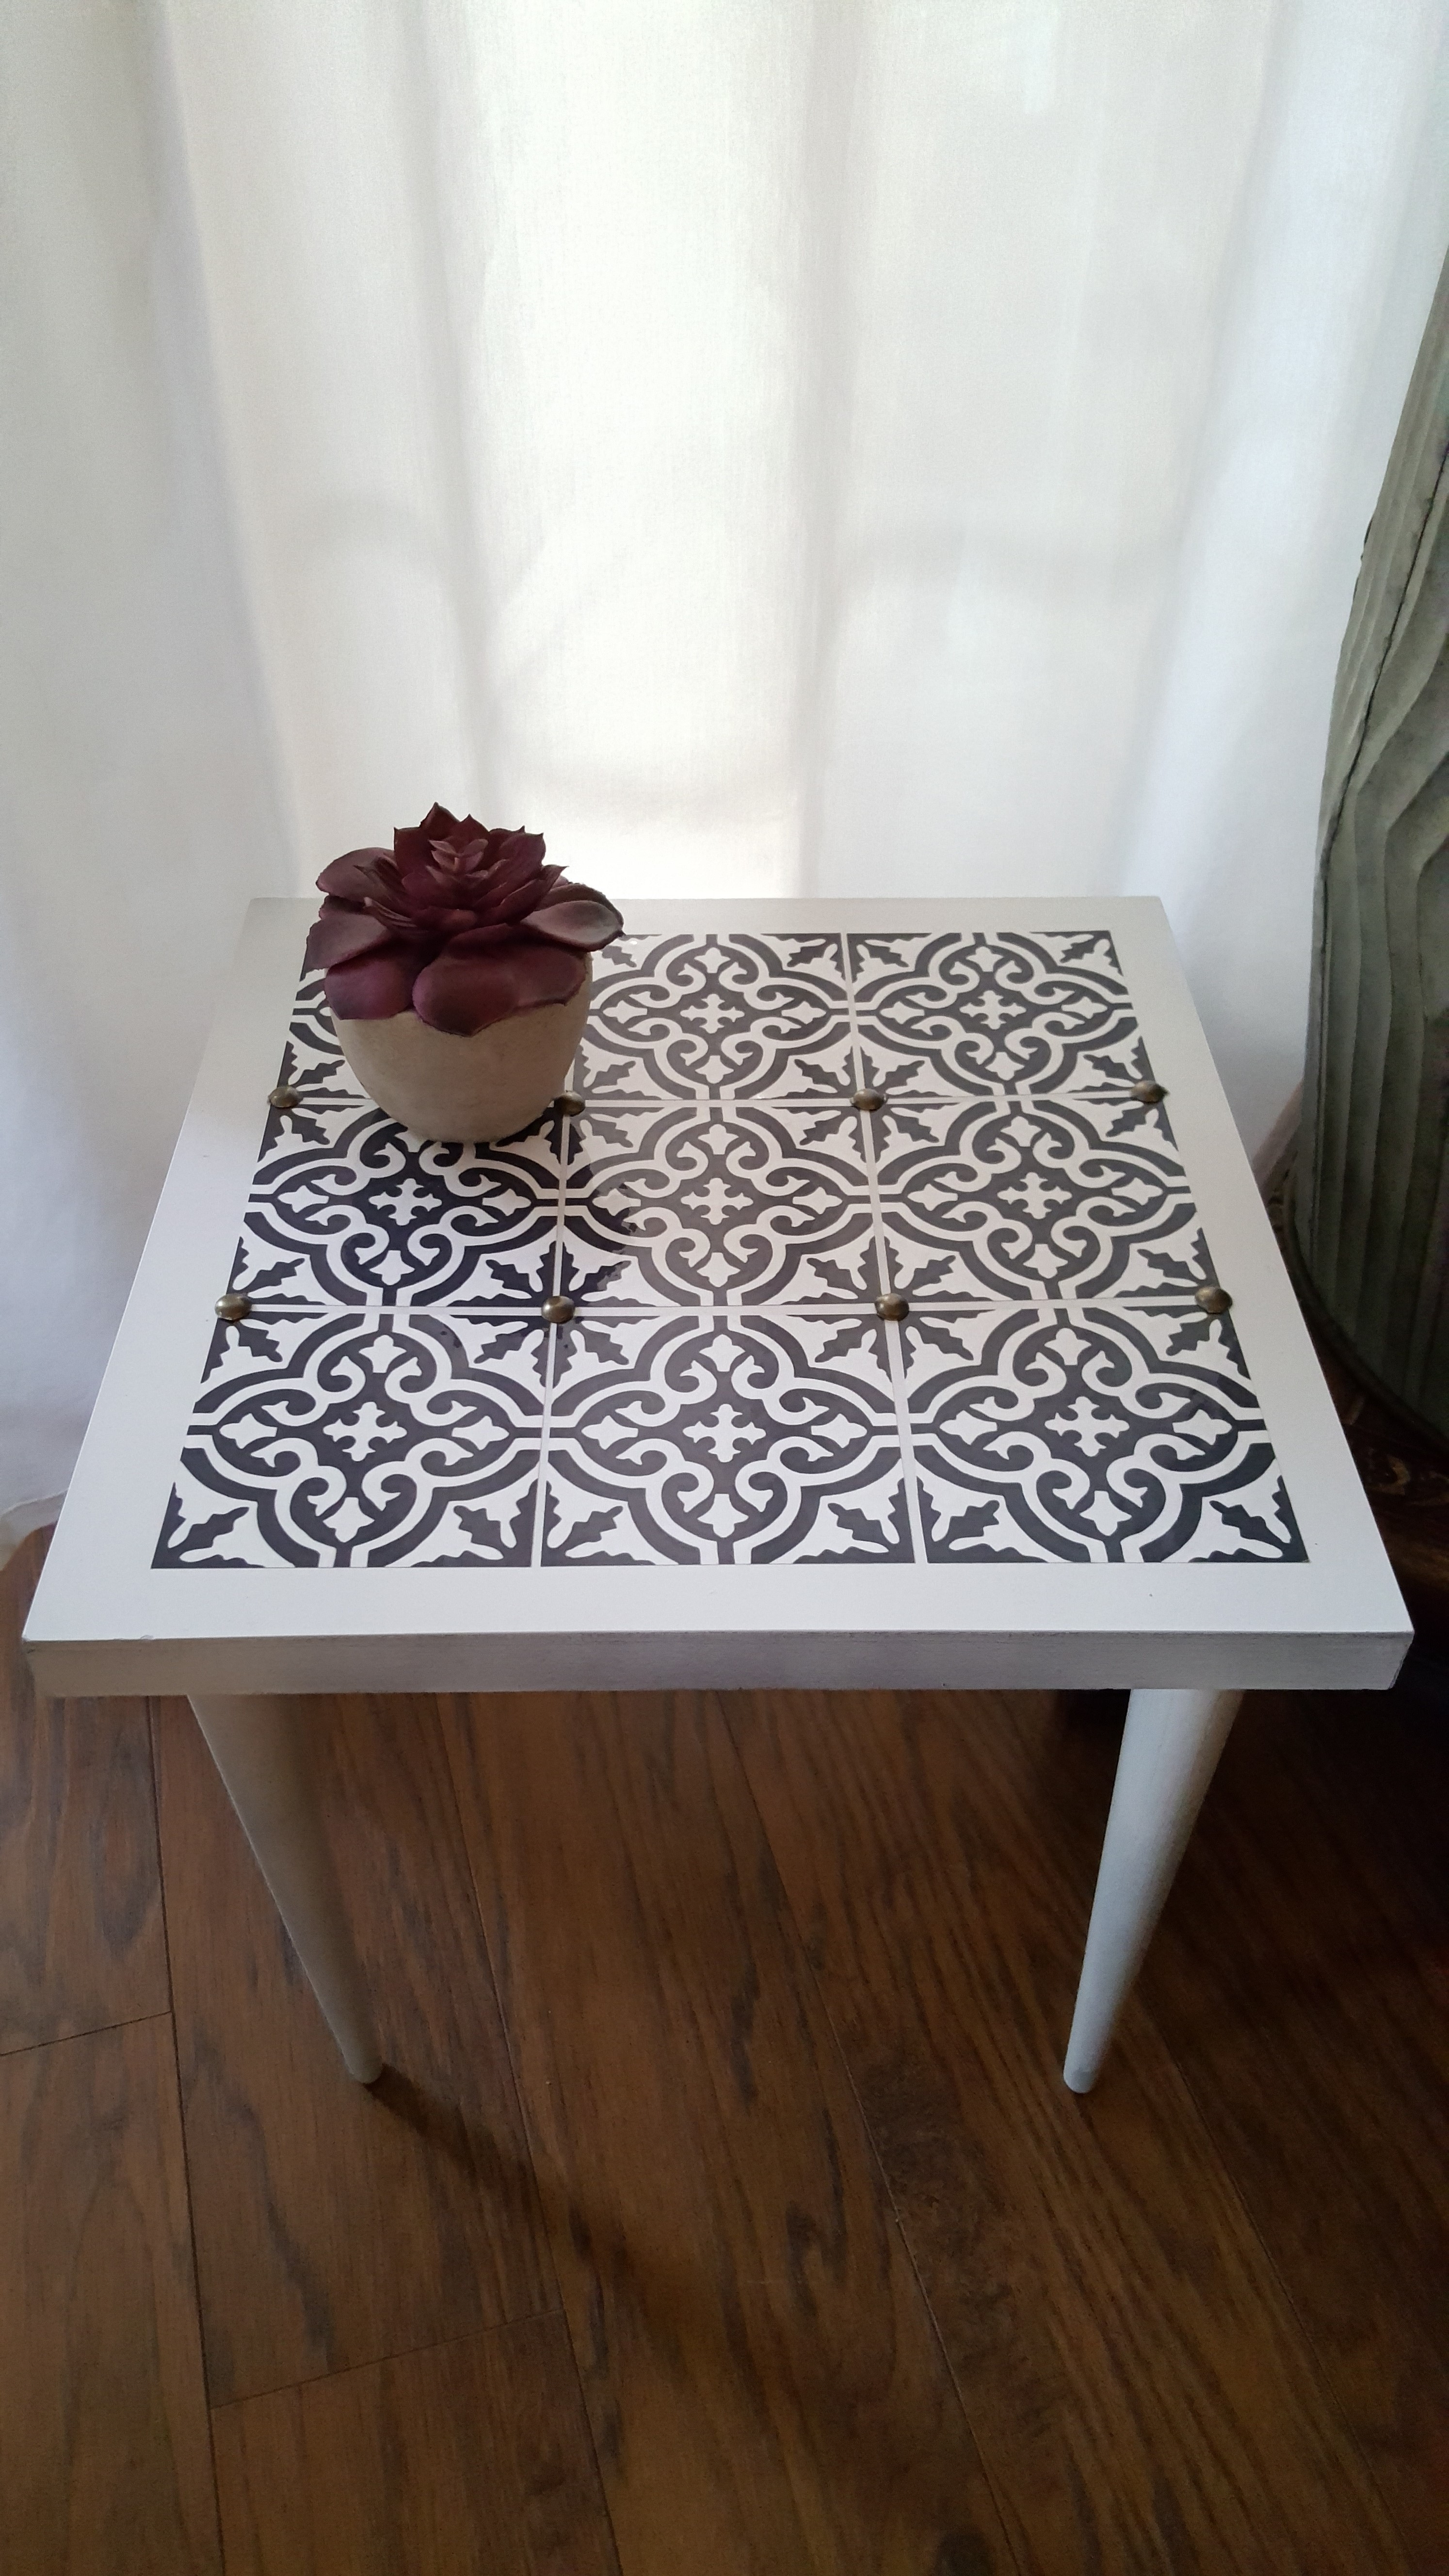
I’m pretty pleased with how this little table turned out. I paid less than $10 for the table and aside from the tiles that I bought, I had everything else on hand. One more piece of the past rescued!!! If you do a DIY using these tiles, please share it with me…I’d love to see it!! I’m definitely looking for another way to use them in my home. 🙂
Thanks for stopping by!! Be sure to check out all the other Thrifted & Re-lifted projects below!
Show us how you turned something Thrifted & Re-lifted for under $30. Use the link below to connect with us! Be sure to follow on Instagram as well #ThriftedandRelifted!!
~Holli

 One Room Challenge, Urban Chic She Den – Lighting and Floors
 One Room Challenge Urban Industrial Vintage Laundry Room Week 5
 Travel Made Easy with my Favorite New App
Holli this turned out amazing!!! Those tiles are the coolest thing. I’ve never heard of them and of course now I want to come up with a project so I can use them!!! Love the nailhead detail 💙
Thanks Heidi!!!! It was so easy…I really want to do more! Let me know if you get some! 😊 Have a good one!
Oh my goodness this turned out gorgeous!! I LOVE that tile!!
Thanks Ty!!! I have to get more of these tiles in other colors and use them! They are the coolest thing ever! Have a good one!! 😊